Overview #
You can add a task from almost anywhere in the app. In this article, we will go over the multiple ways of adding a task and how to take it through its entire lifecycle.
Adding a Task #
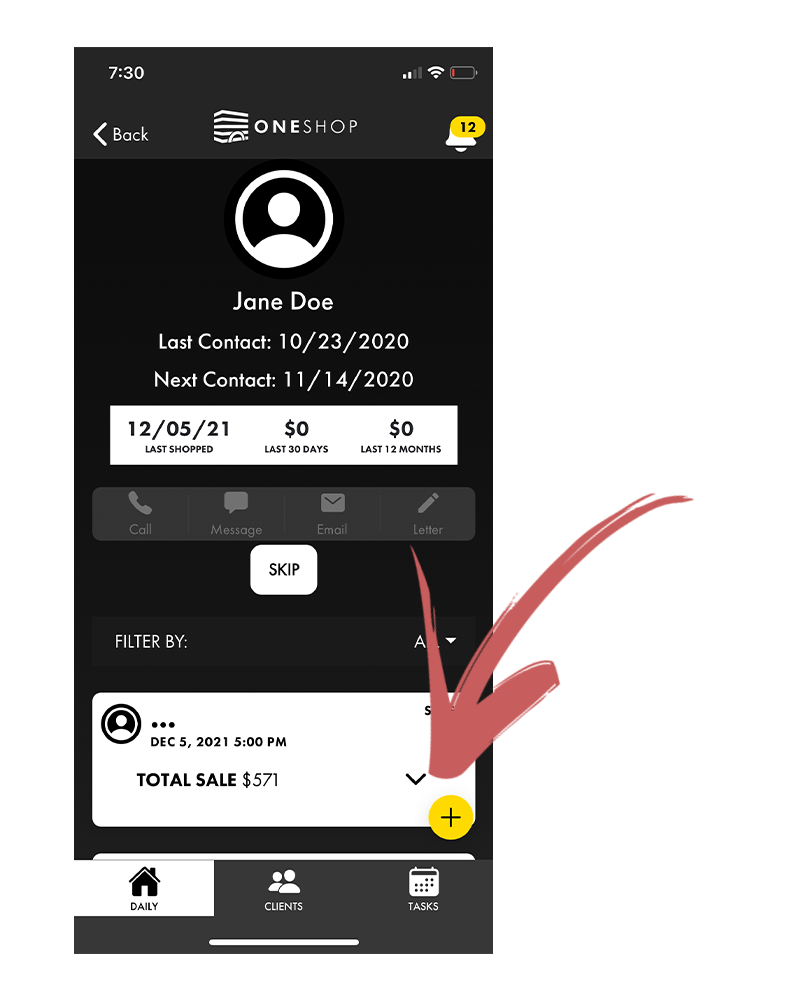
If you are not in a client profile, all you have to do is hit the yellow “+” button wherever you will see it in the app.
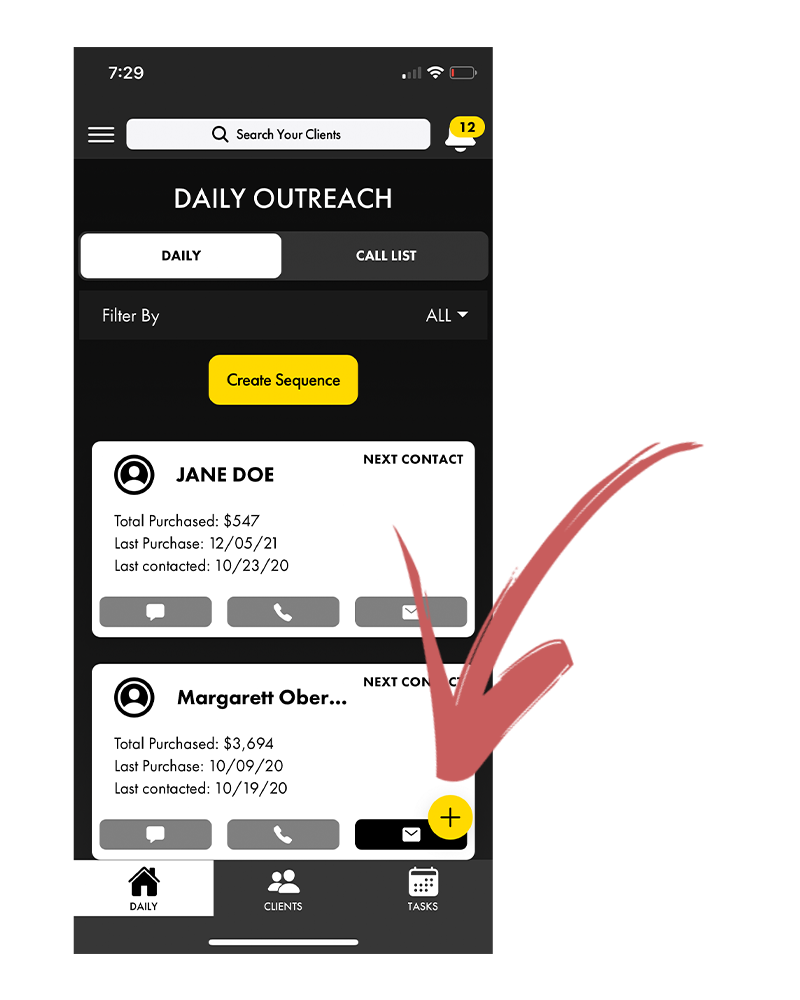
After you click the “+” button, you will see all of your task options pop up.
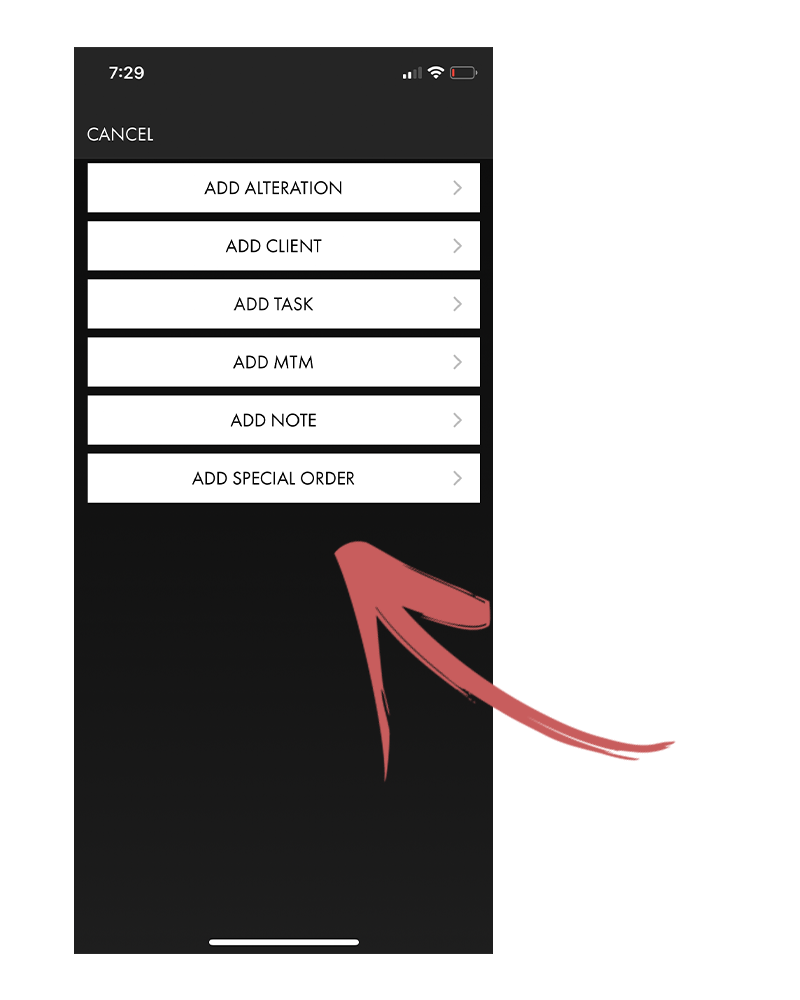
If you want a refresher on all the task types, here is the article where we cover that.
In order to add a task, all you have to do is hit any of the task buttons with the “Add Task” option being the most flexible option to add in any generic follow up.
NOTE – The add note button here only logs a note to a client profile so will not add a task.
How to Add a Task #
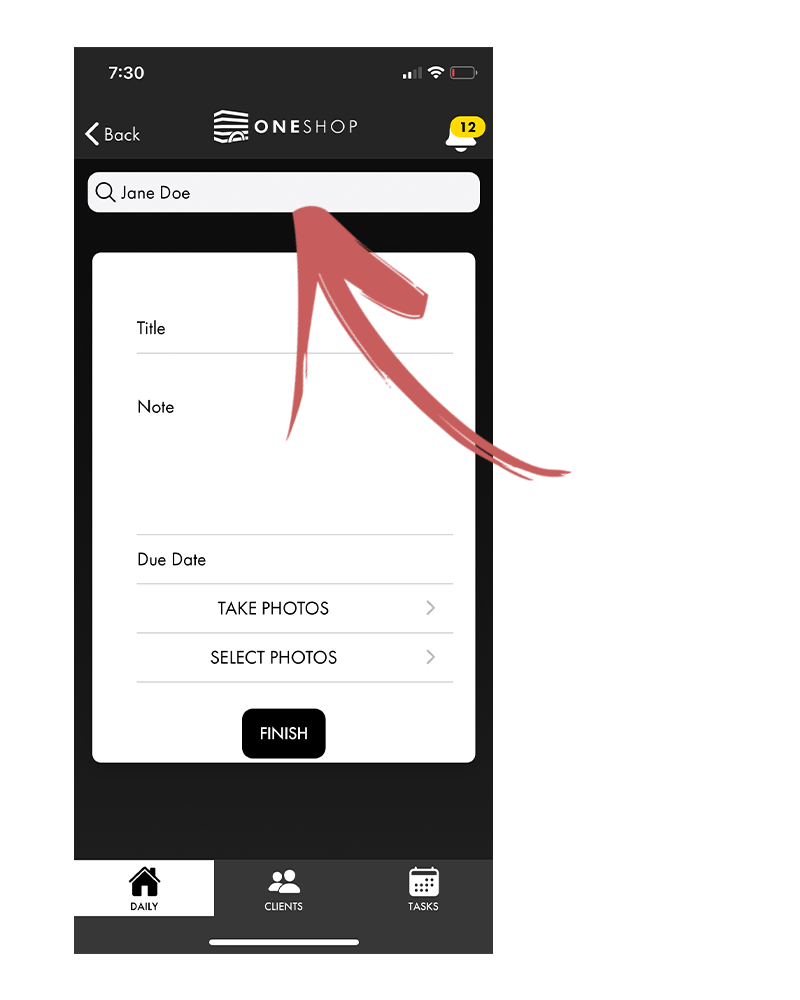
Once in a task, you need to tie the task to a certain client by searching for that client in the top search bar.
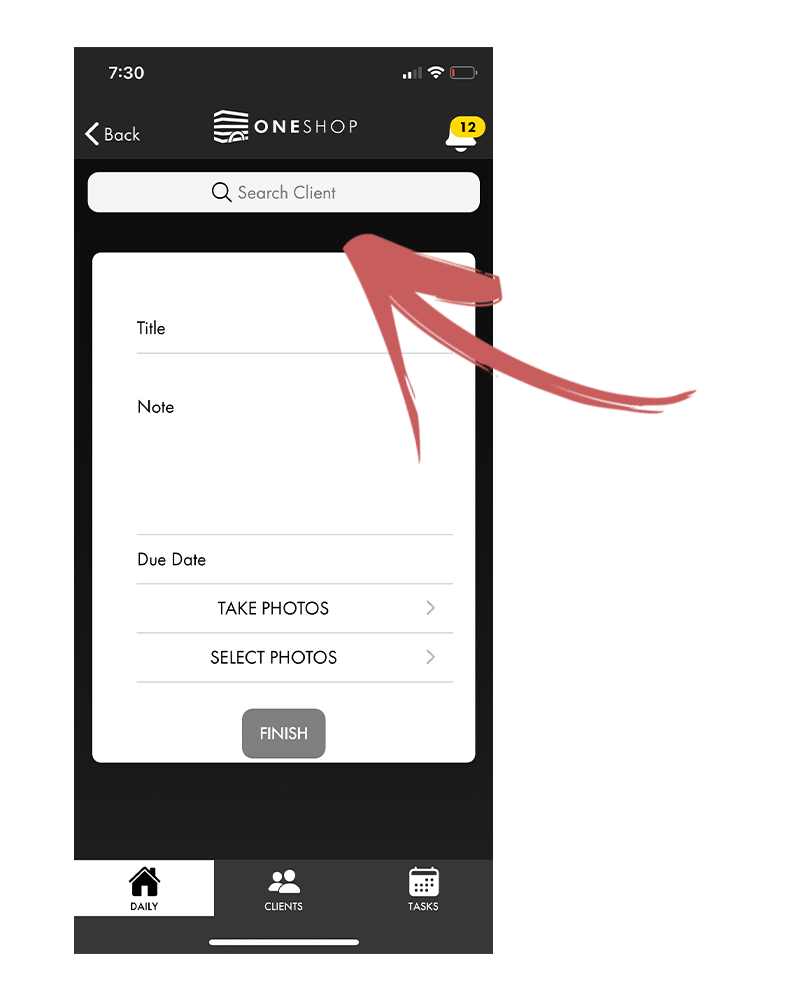
If you add the task when you are on a client profile, this will be automatically filled in for you with the client’s profile you are on.
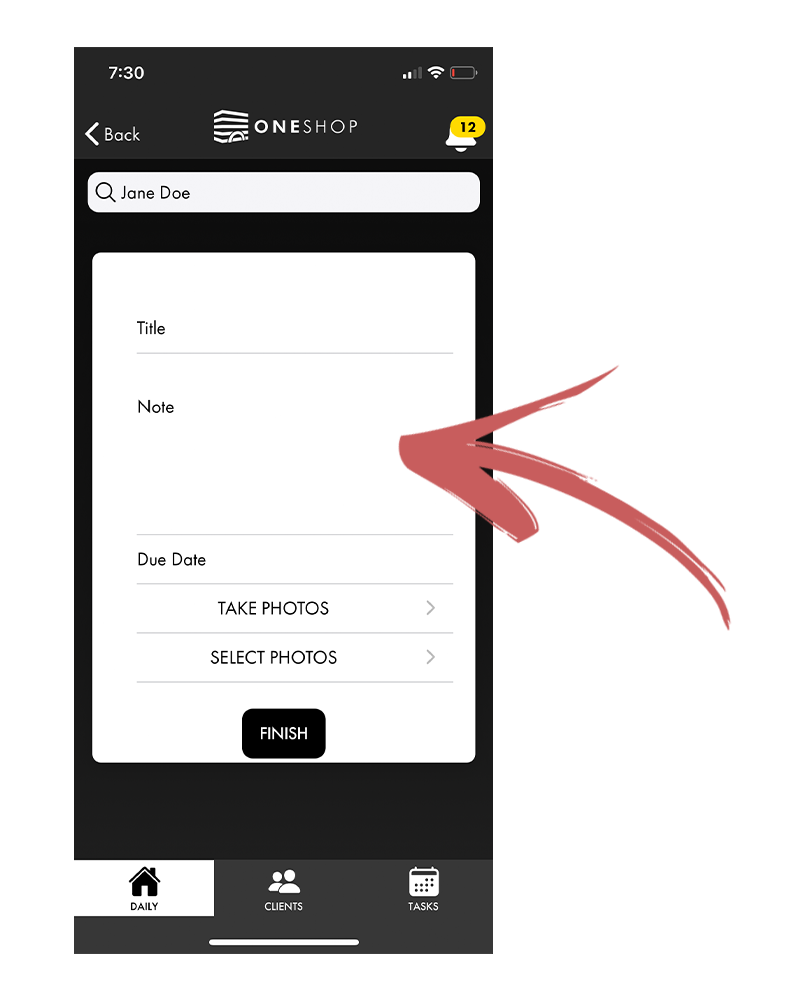
Once you have a client selected, you simply fill in the the body of that note with whatever you want to remind yourself of later.
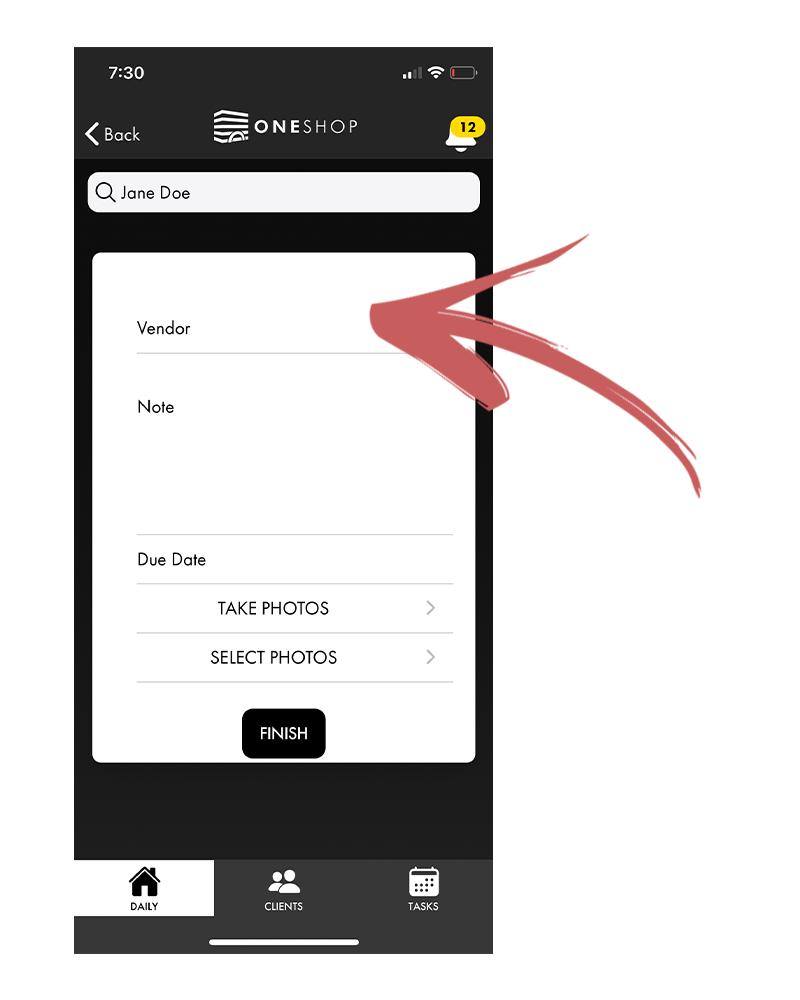
If you are adding a special order there will also be a vendor field to select or add a vendor.
Adding a Due Date #
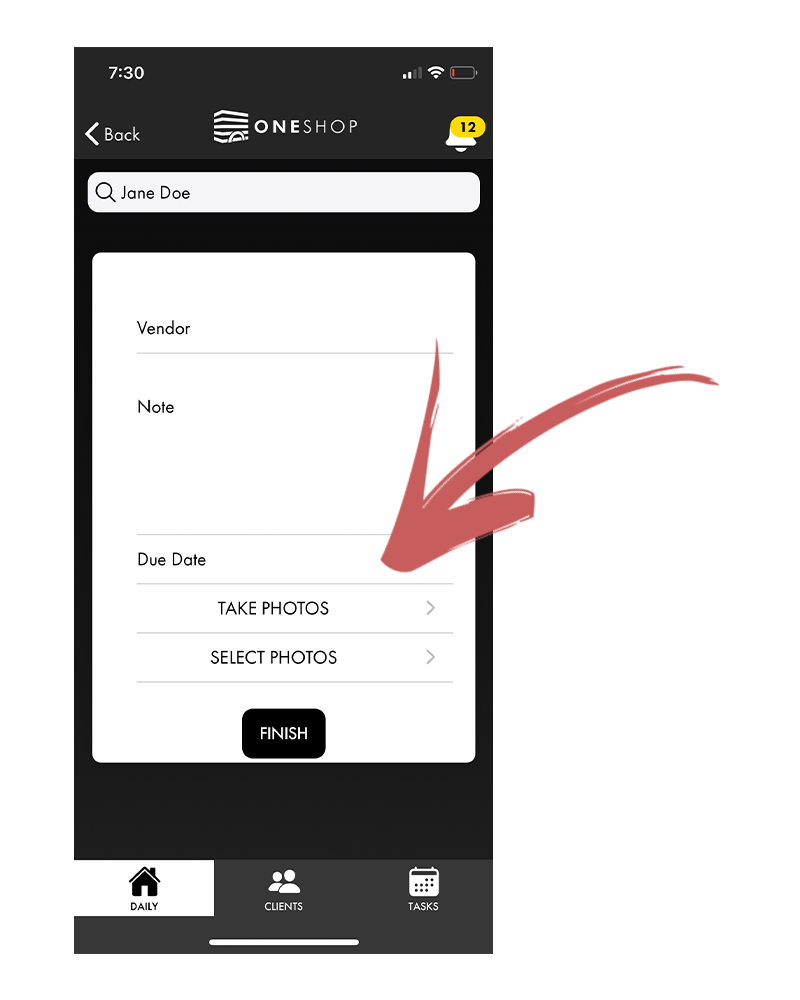
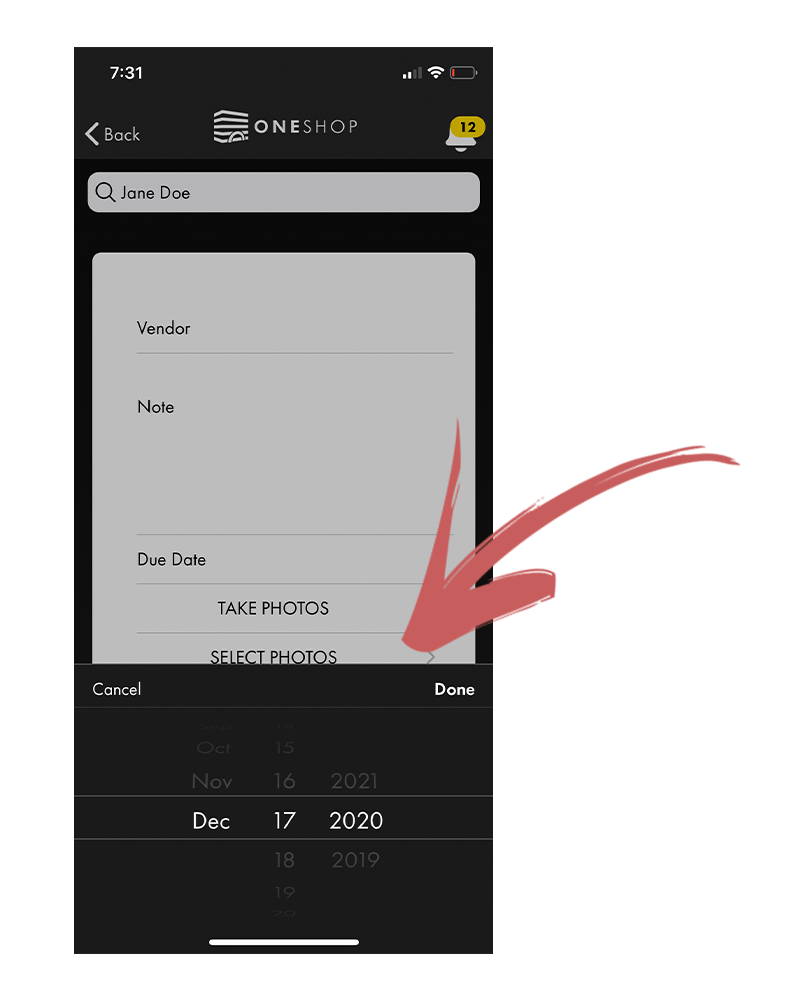
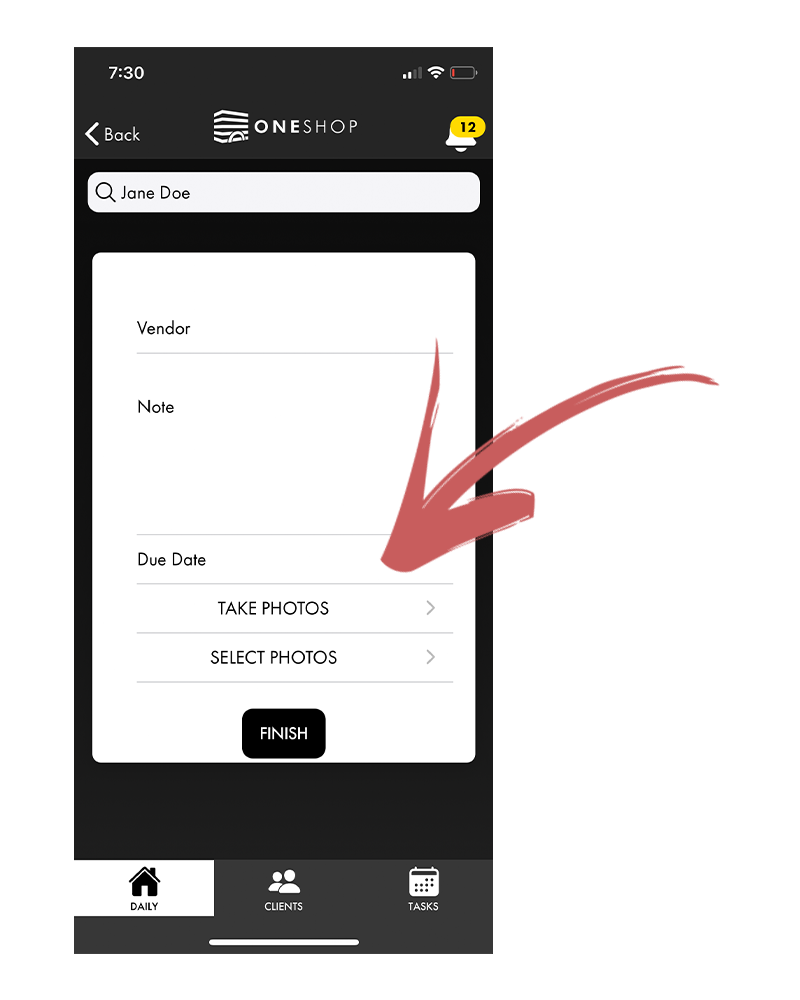
In the due date field, select the date that you want the app to remind you to follow up on this task.
Add Photos #
To any task you are able to either take photos to tie it to the task or select existing photos from your camera roll.
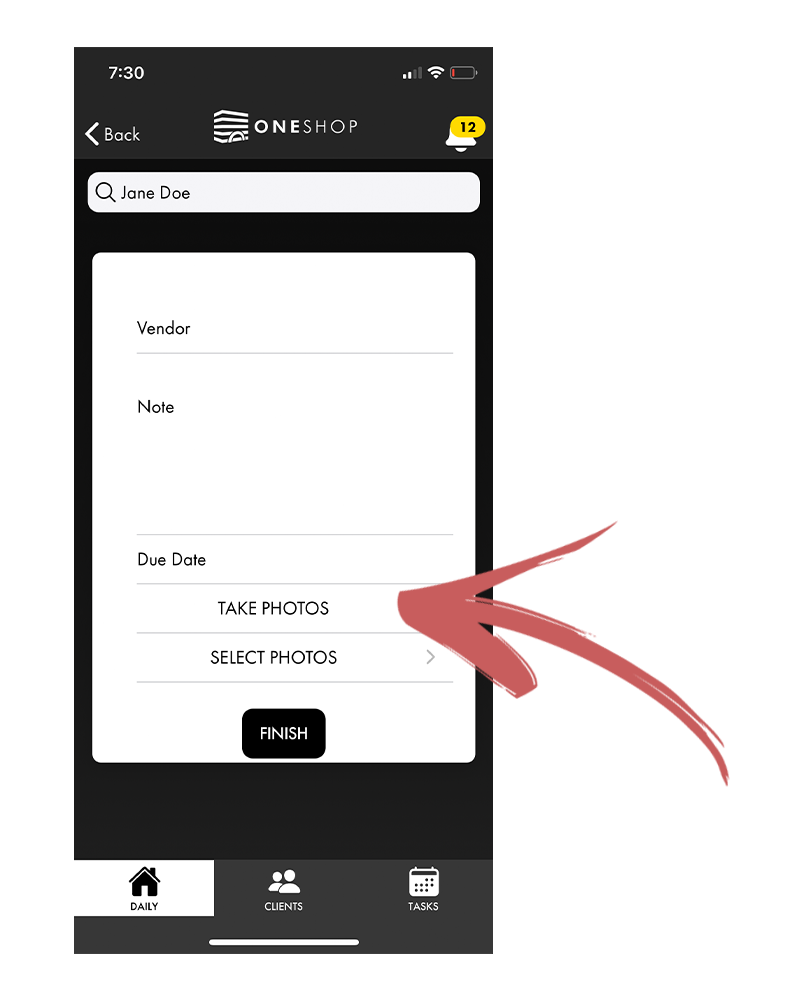
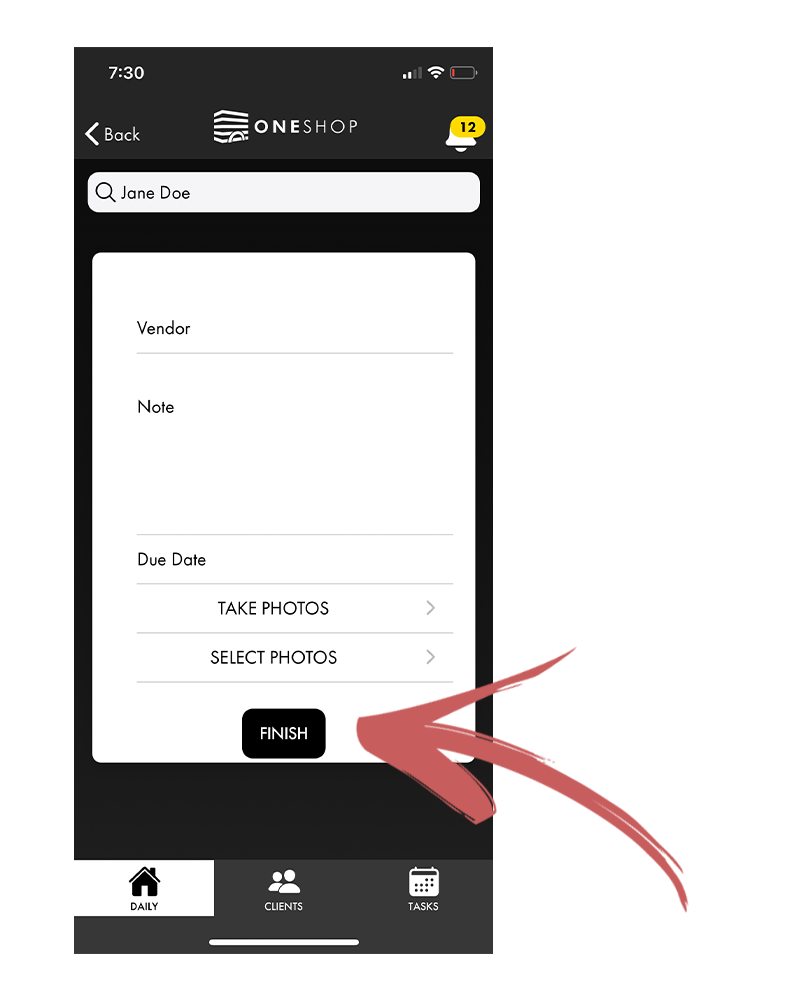
Once you have filled out all the fields, simply hit the Finish button, and it will save this to your tasks page.
The Tasks Page #
Once a task is created, it gets logged on your tasks page.
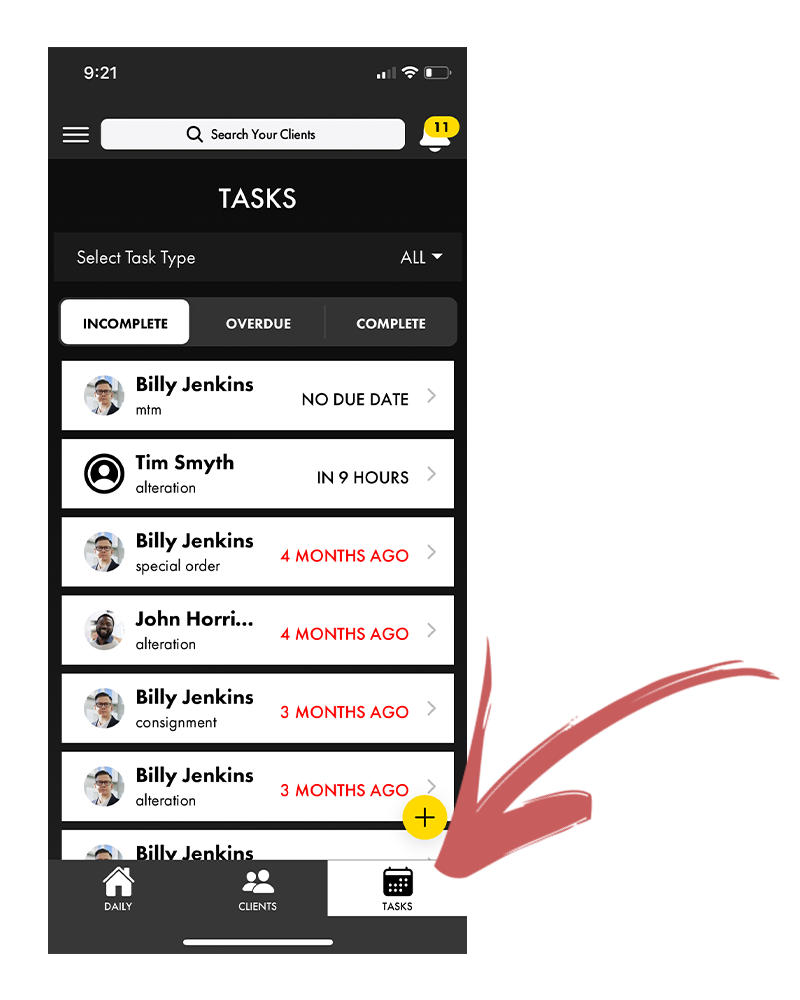
If you want a refreshed on how this page works, here is the article going over that.
Looking at the Task’s Details #
If you want to check on the details of a task or contact that client, simply hit the task card to go to the tasks detail page.
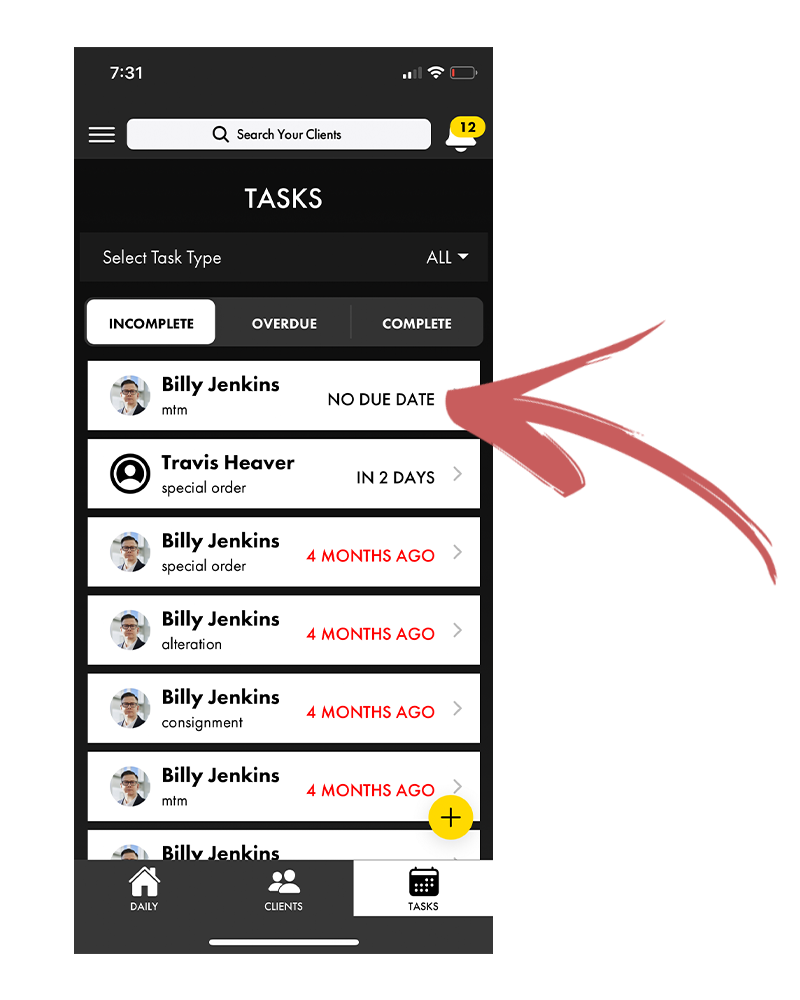
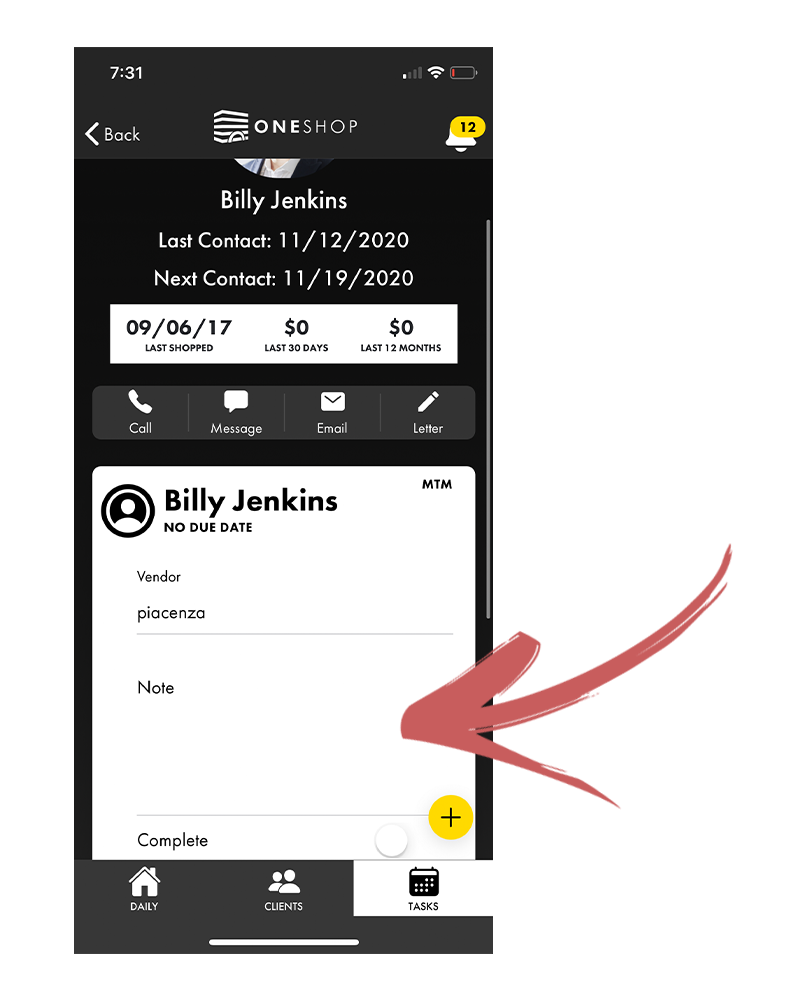
Once on the page you will see all the details that you logged on the task. If you want to edit these fields, you can type directly into them.
If you need to edit the date, you can also hit the due date field and change the date to whatever you want.
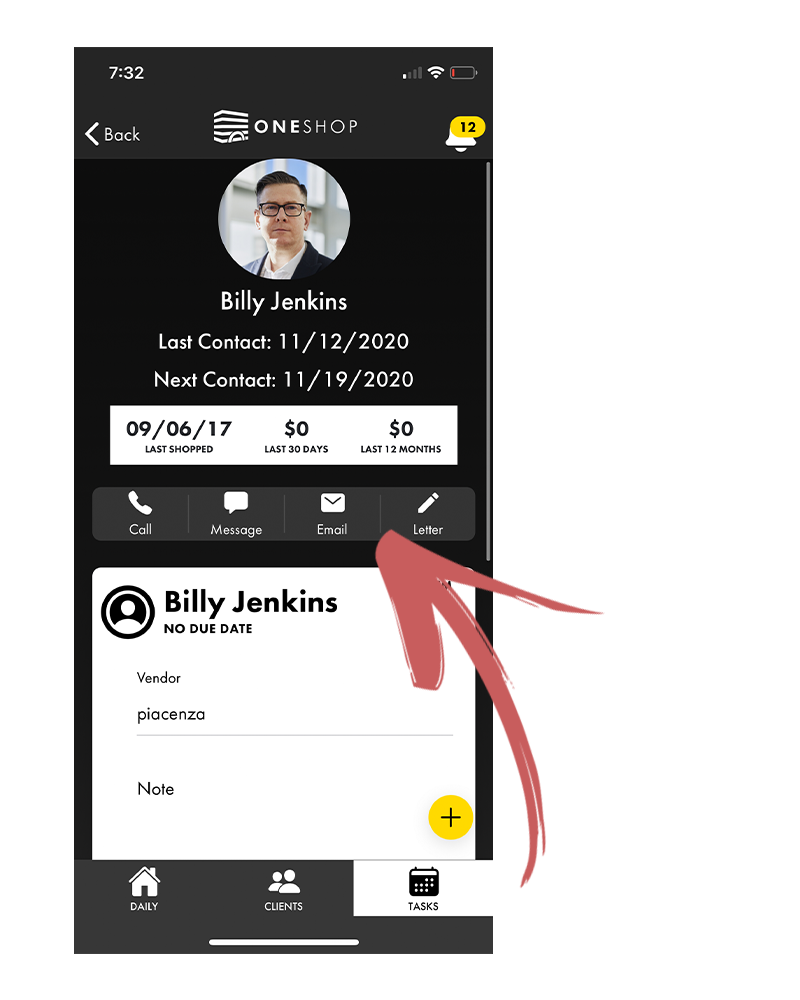
The best part about tasks is these are great opportunities to get in touch with your client. So contacting them is just a click away using the communication bar that functions the same as on the client profile page.
If you want to get a little more detail on this client, you can also click on their profile to see all purchase history and other client details.
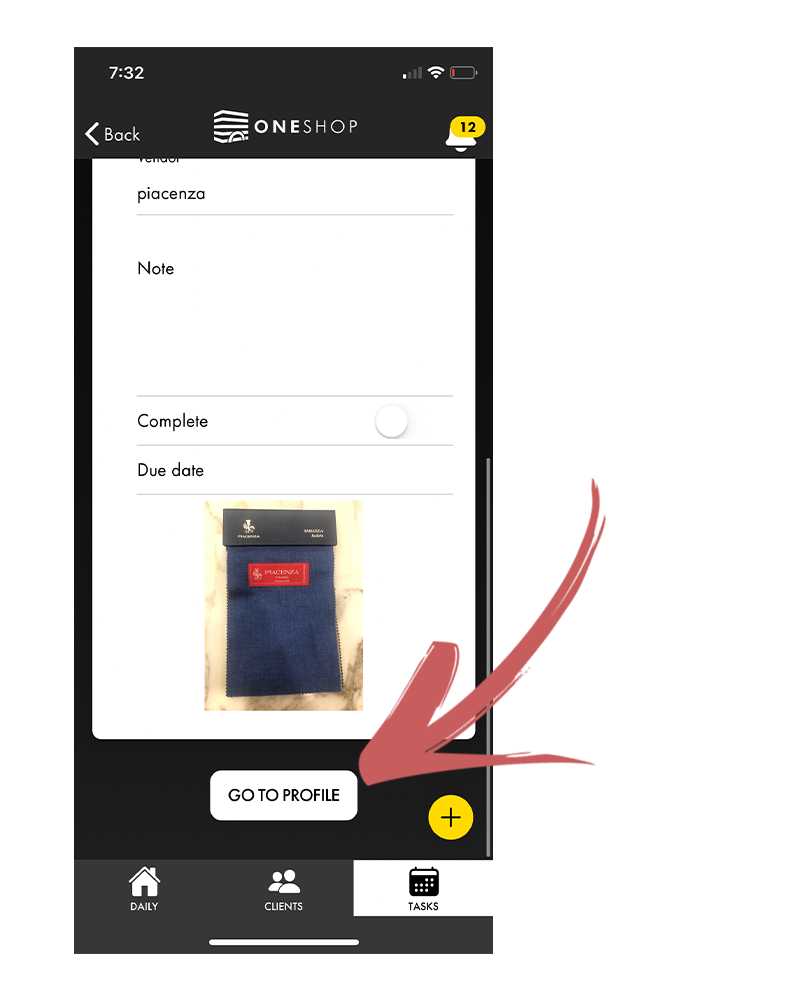
Getting Alerted of Tasks #
Once a due date arrives for any of your tasks, there will be an alert in the bell in the upper right hand corner of the app.
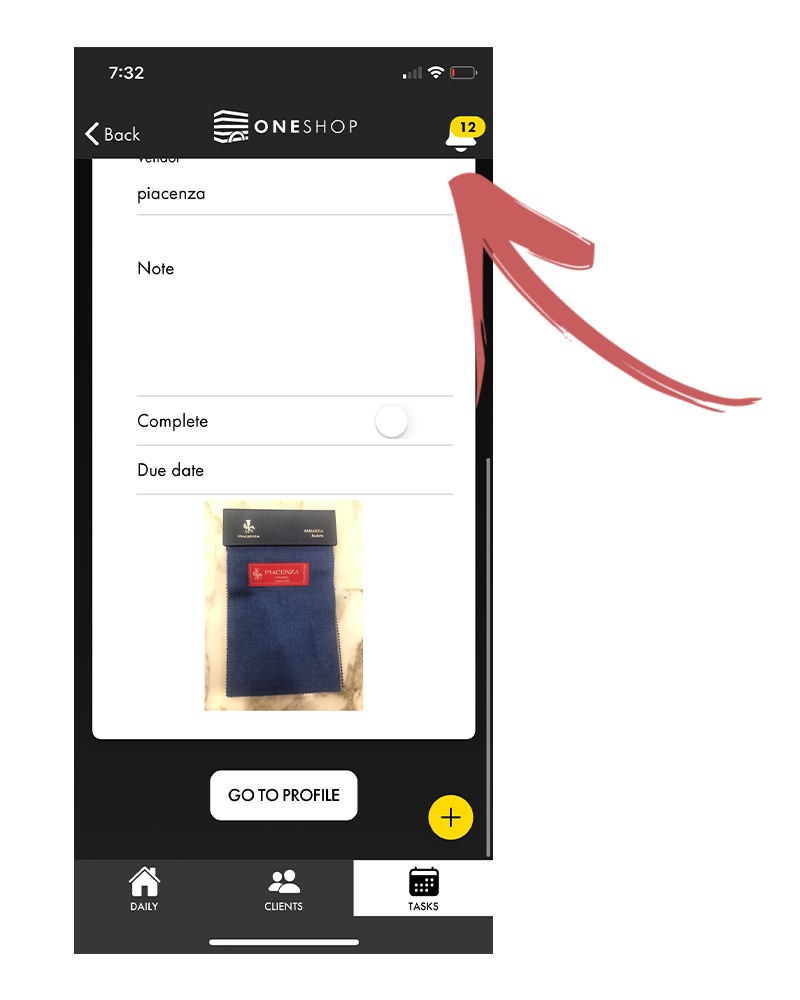
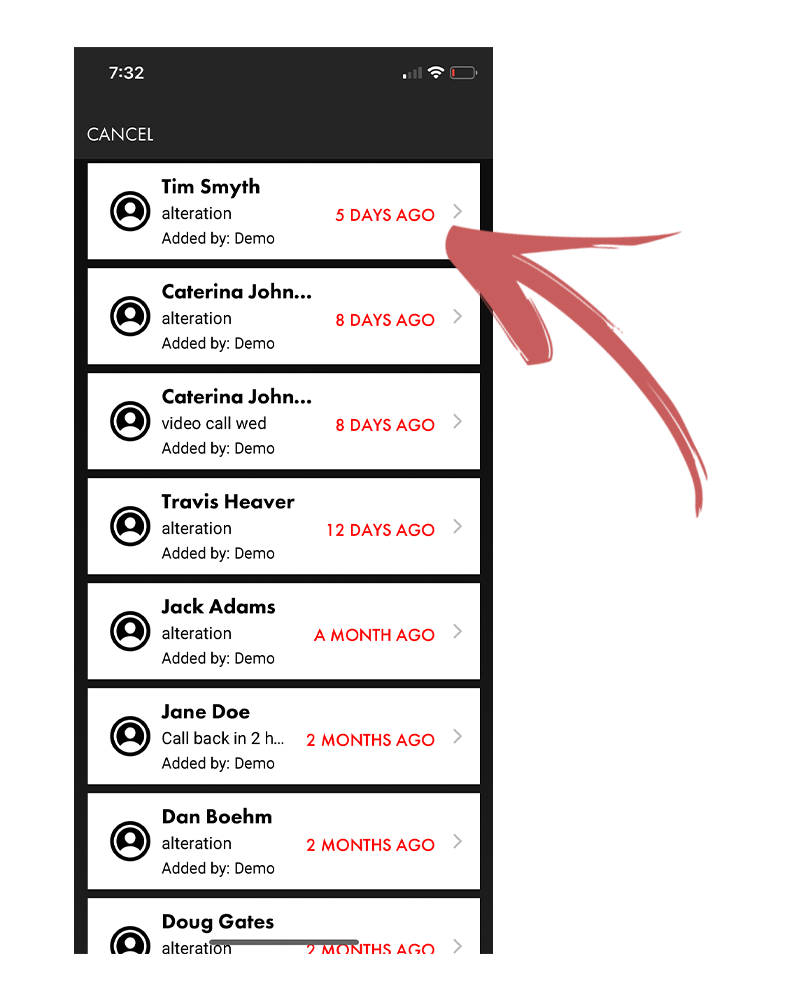
Here you will be able to click into any overdue tasks where it will take you right to the task card to edit or complete the task.
Completing a Task #
Once a task is complete, it is as simple as opening the task card and hitting the complete button.
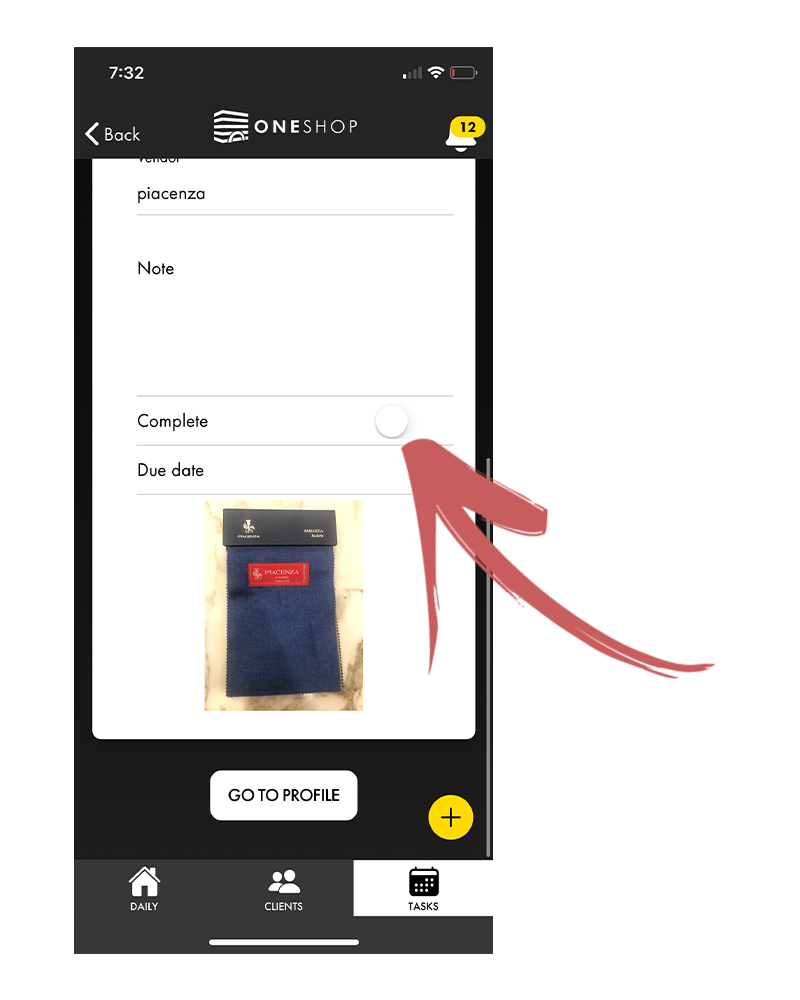
This will move the card from your incomplete and overdue columns to the completed column.

