Overview #
With OneShop’s ShopWith tool you are able to use e-commerce products or create products from the floor and text or email to clients. In this article, we will go over exactly how to utilize the tool and all its capabilities.
Introduction to Types #
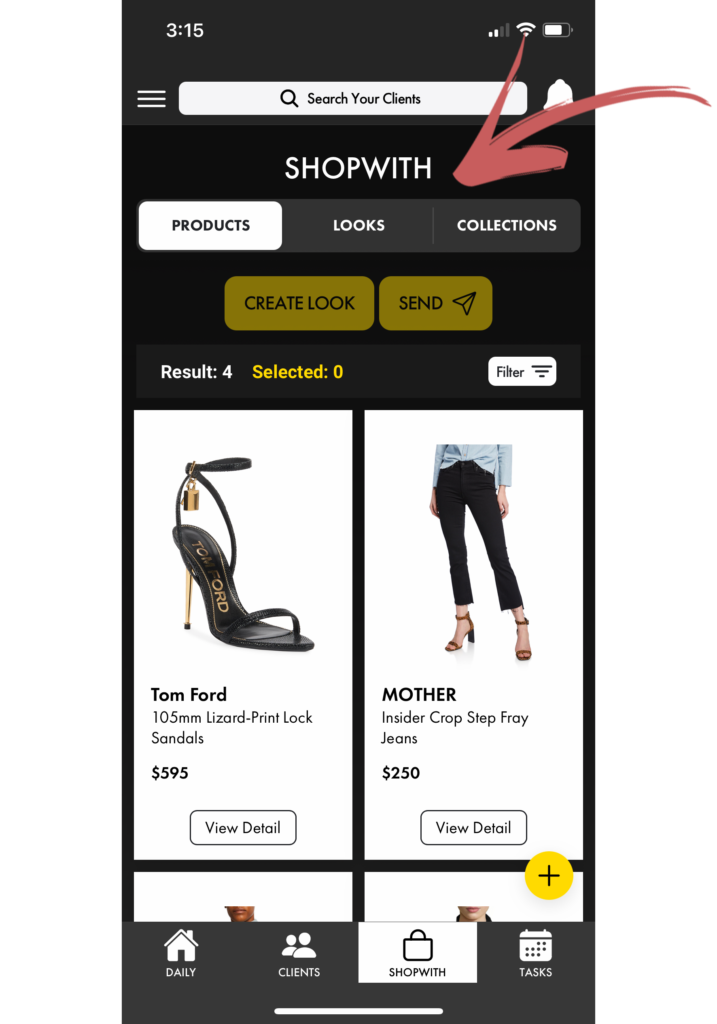
ShopWith is divided into 3 different sections that you use to send the perfect assortment to your client. These sections are:
- Products – Products are individual items and can contain multiple images or views of that product as well as all details tied to that product such as brand or price.
- Looks – Looks are a combination of products styled and connected together into a look.
- Collections – Collections are compilations of looks.
Adding a Product #
If you have an e-commerce integration with OneShop, all items from your website will pull into OneShop as they are created. However, if there are not products already existing from your e-commerce site, then you can shoot them and create them straight from the sales floor.
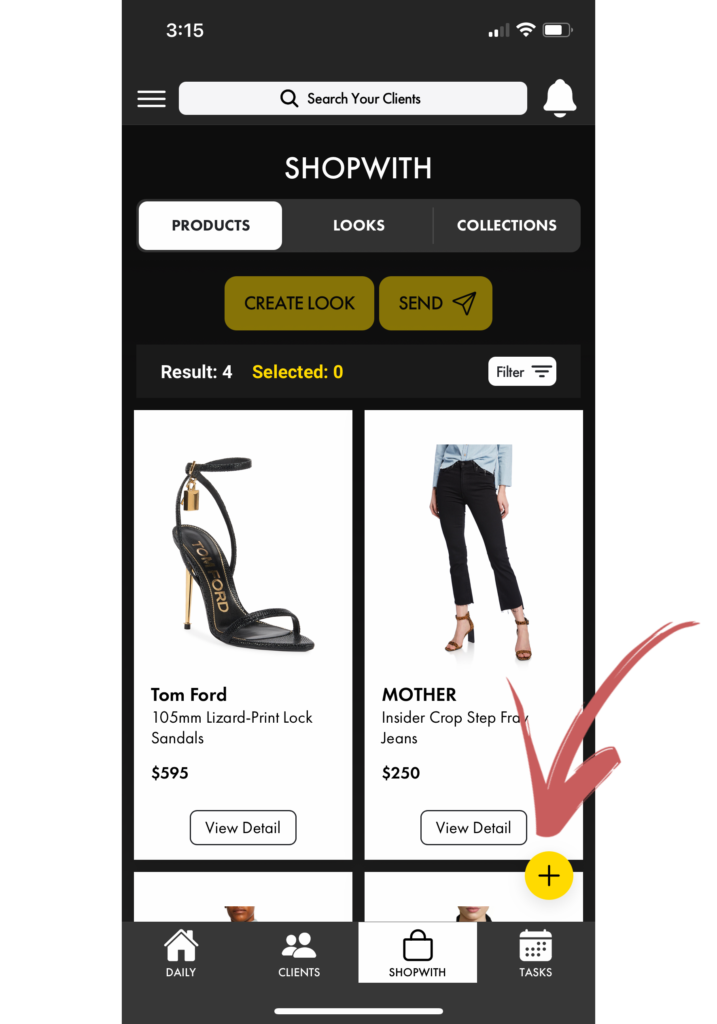
In order to do this, the first thing you will want to is hit the yellow “+” button at the bottom right hand of the screen.
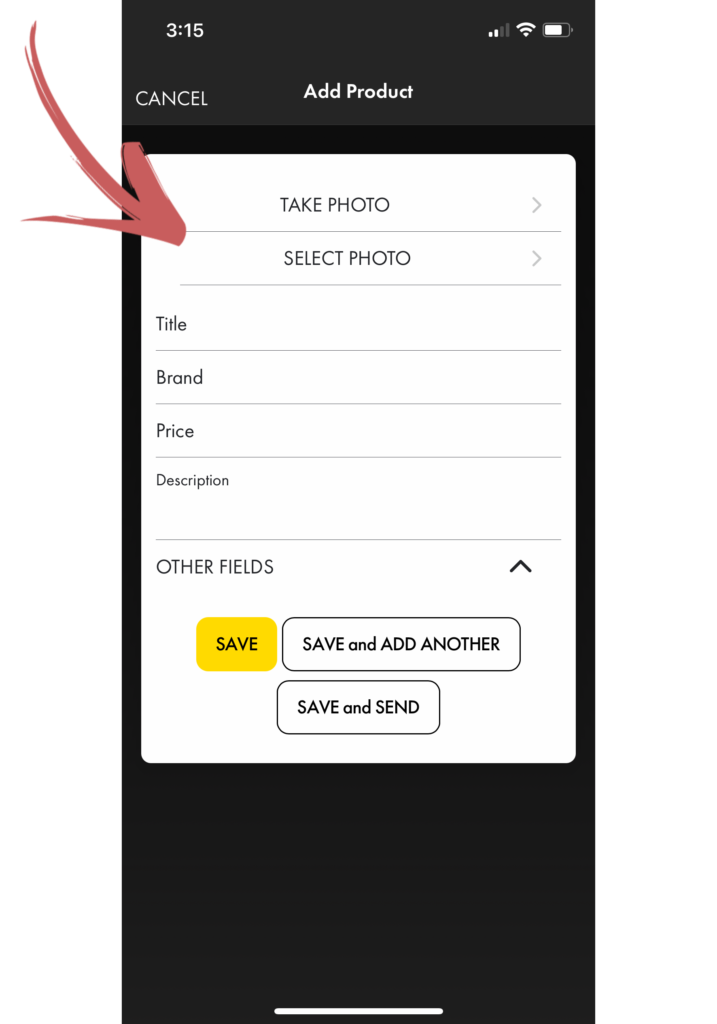
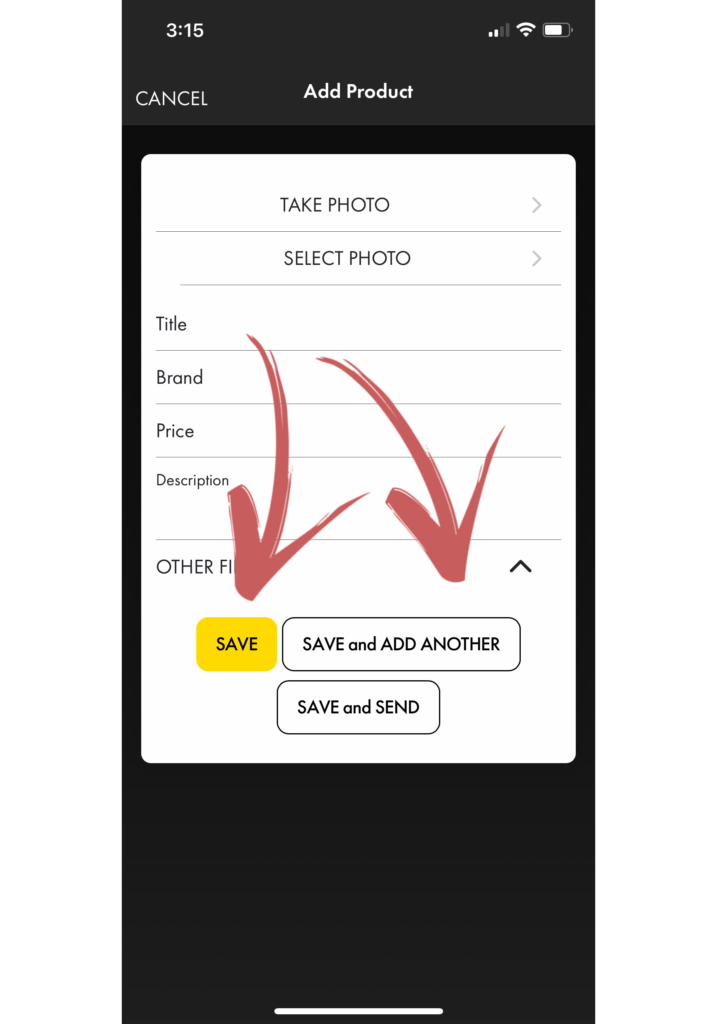
This will pull up a screen where you can add photos and all product details that will be visible to the end customer.
Once you hit the take or select photo button you can take or add one or multiple images of a product. This could be the front, back, and detail of an item or whatever you prefer.
Then you can fill in all brand, title, price, etc. info of the product. Remember – the end customer will see this when they are sent this or multiple products.
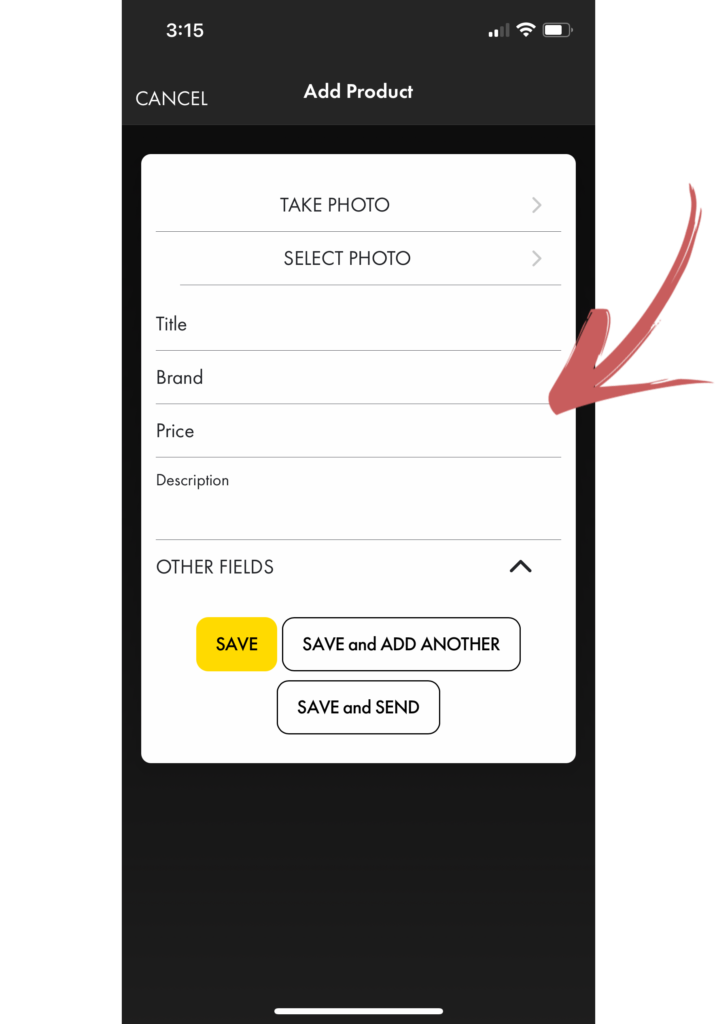
The difference between title and description is in how in-depth it is. So for example, the title might be “Blue jeans” while the description might by all of the fabric, manufacturing, and care instructions.
Once you have all information filled out, you have 3 options:
- Save – returns you back to the ShopWith page.
- Save and Add Another – this will take you to a new form to add another product.
- Save and Send – this is if you want to immediately text or email this product to a client.
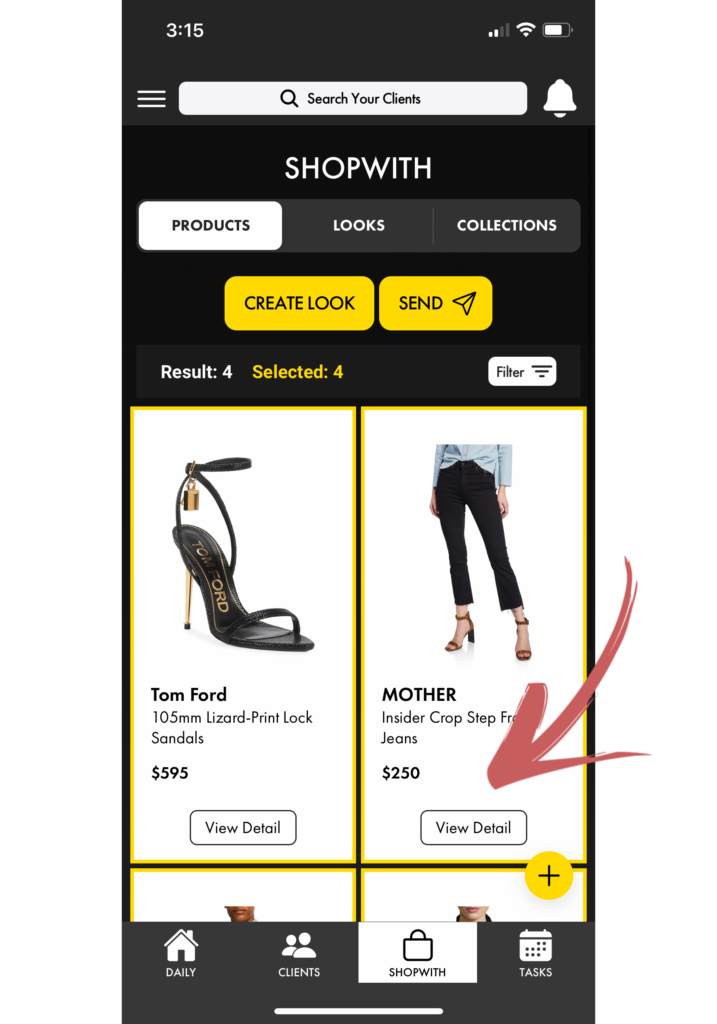
If you want to see the details including all images of a product you hit the “View Detail” button on any product.
Sending Products #
Once you have either created products or just want to use existing products, you are able to easily send one or multiple products to a client.
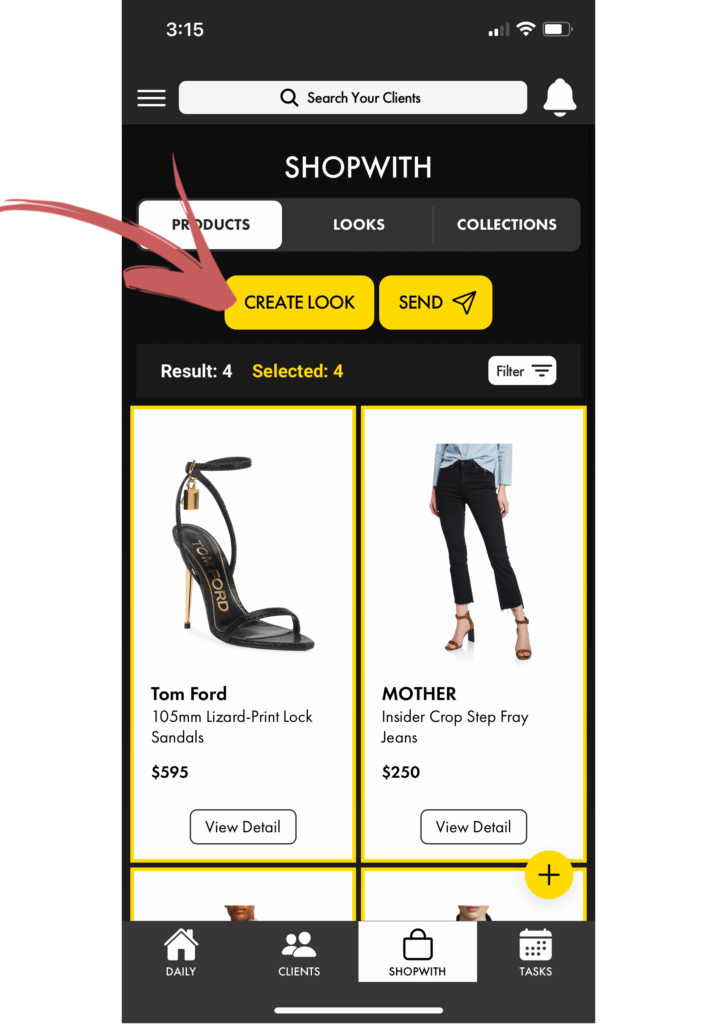
All you have to do is select the card anywhere in the rectangle of the product, and it will highlight yellow.
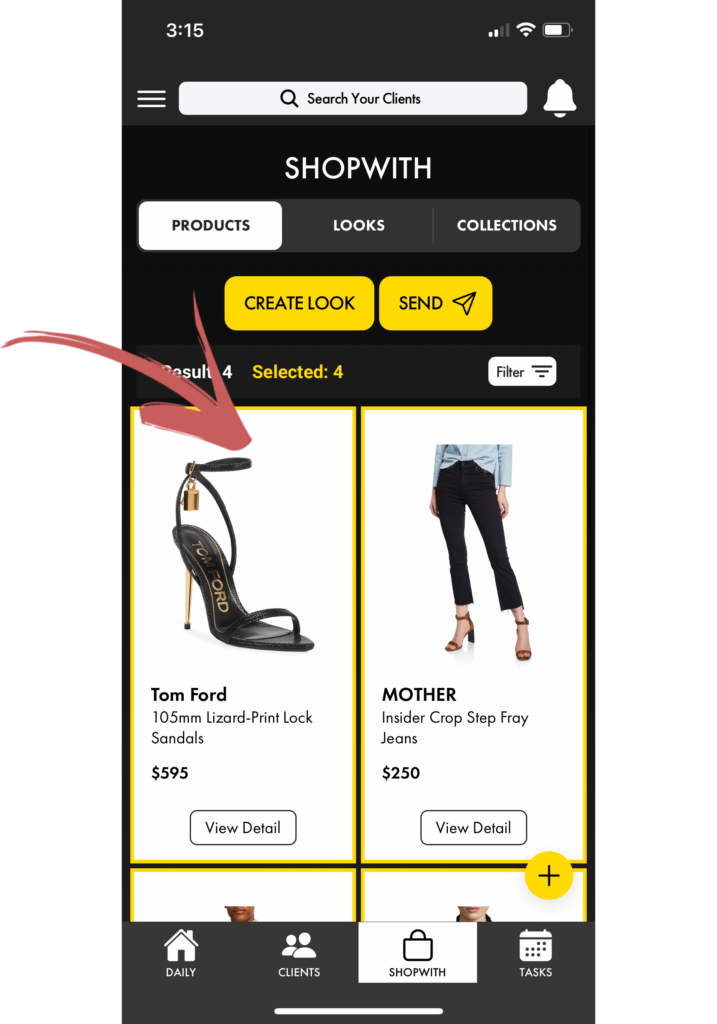
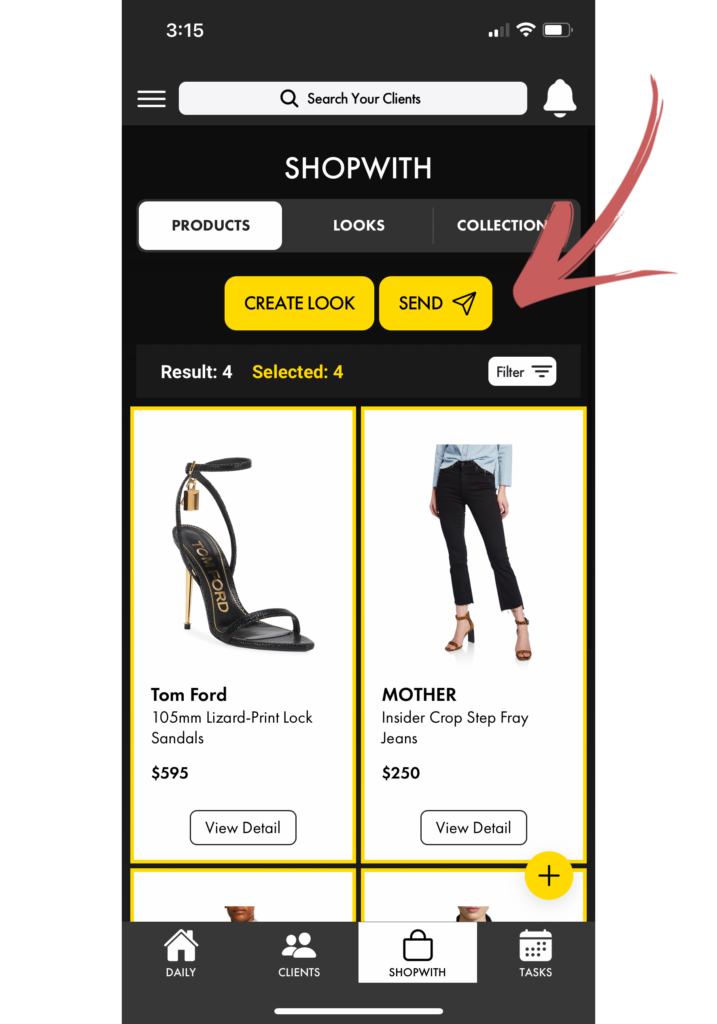
Once the product or products are highlighted yellow, you just hit the yellow “Send” button, and it will take you to the next screen.
On this screen, you simply type in your client’s name to pull up their contact.
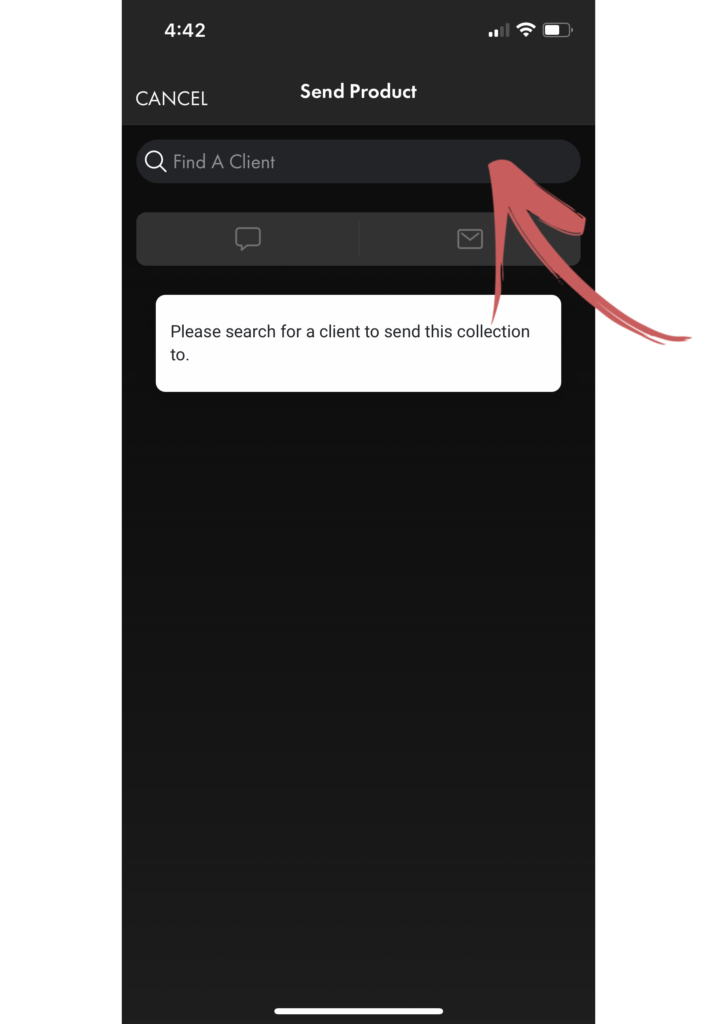
Then type in your message into the body field and make sure to leave the link as that is where your client will view the product(s).

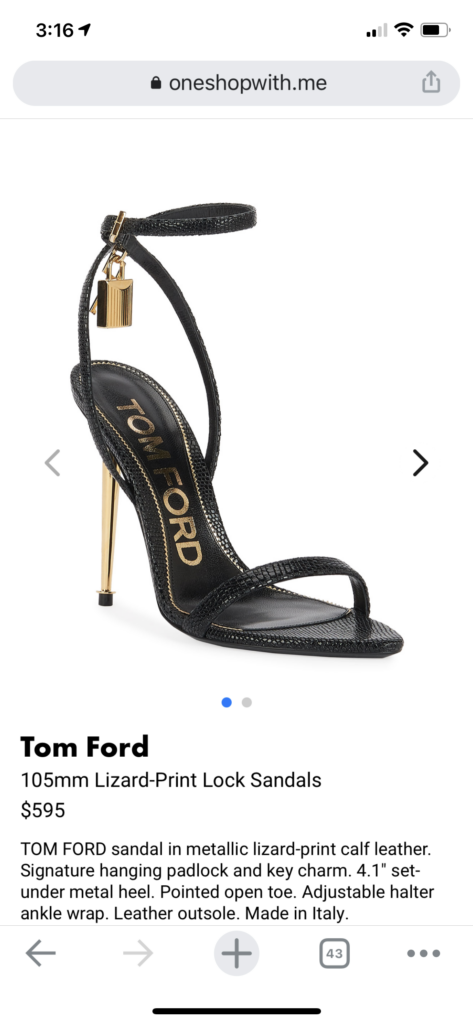
If a link to a single product is sent, then it will take the client right to the product detail page.
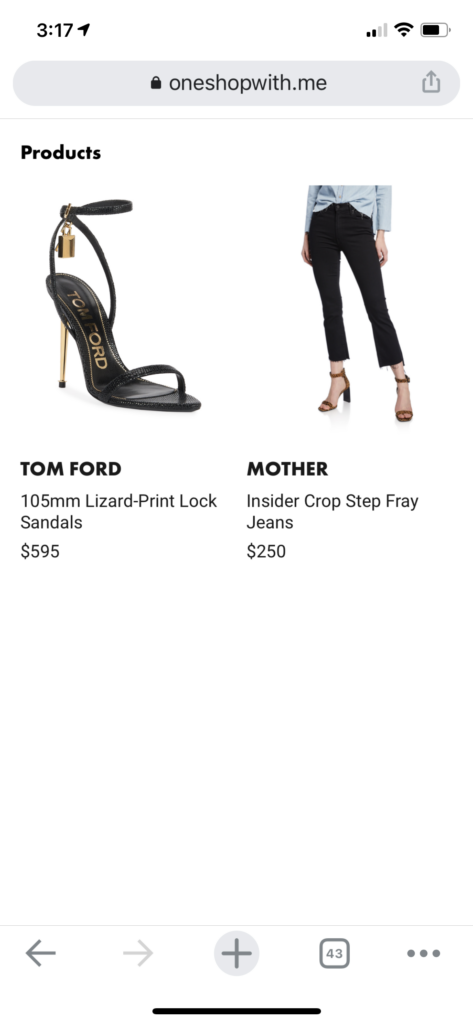
If multiple products are selected, then it will take the client to a page where they will see all products laid out and then will be able to click into them to see the details of each product.
Creating Looks #
If you want to take products and style them into a look that the client would wear or buy together, you can create a look.
To create a look you select the products the way that you did before by hitting each product square.
Then once you have the look created you hit the “Create Look” button.
This will take you to a new page to finalize your look.
On this page you have two options. You can either use our default grid of 4 that is created automatically for you.
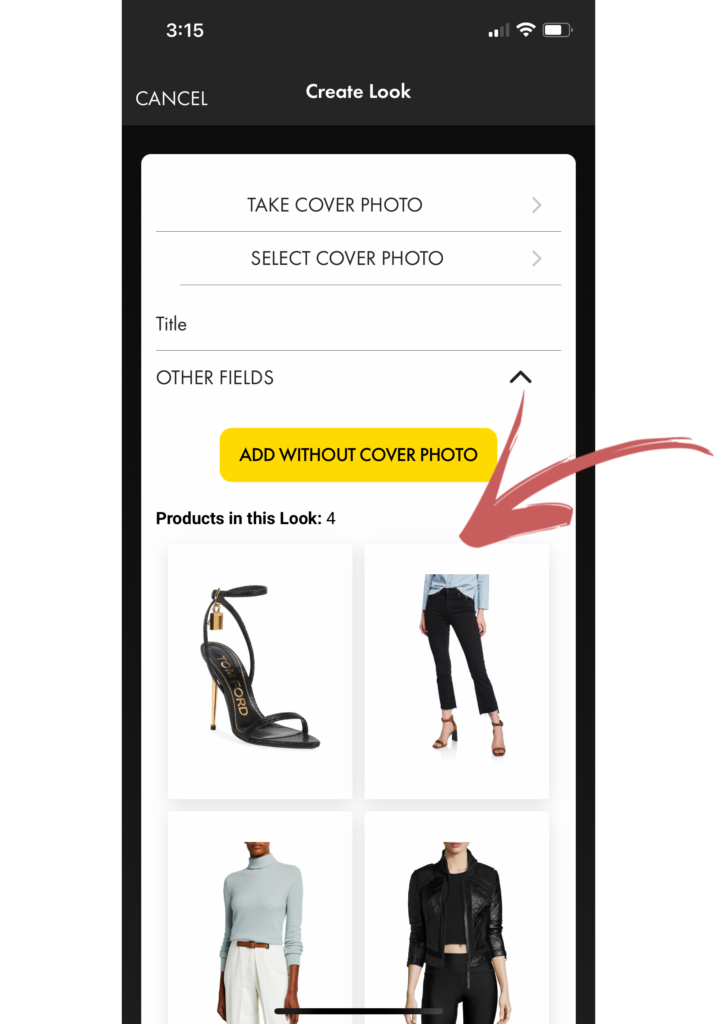
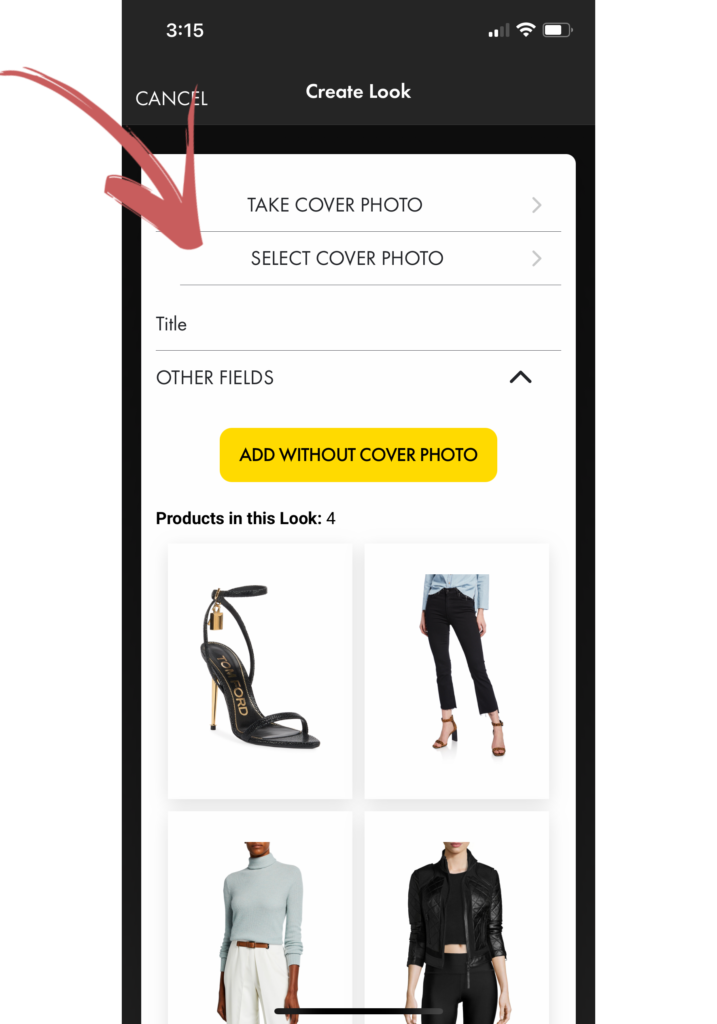
Or you can take what we call a “cover photo”, which means taking a photo of the look yourself or loading one from your camera roll.
This could be the look on a mannequin, a lookbook photo, someone in the store wearing it, or any other creative arrangement you can think of.
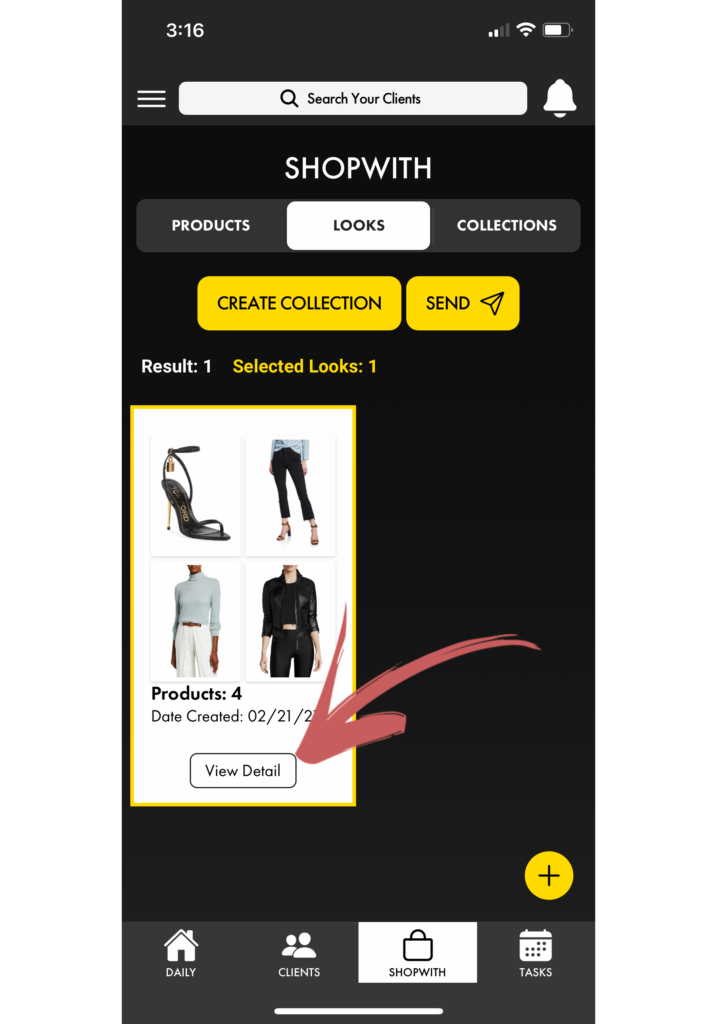
Once you hit save, the look will save to the Looks section of your ShopWith page.
To see what is contained in a look after it has been created, you hit the “View Detail” button as you did with products.
Sending Looks #
Sending looks is the same as sending a product. You simply select one or multiple looks that you would like to send to a client.
Then when you hit “Send” it will pull up the same screen that you encountered on the product page.
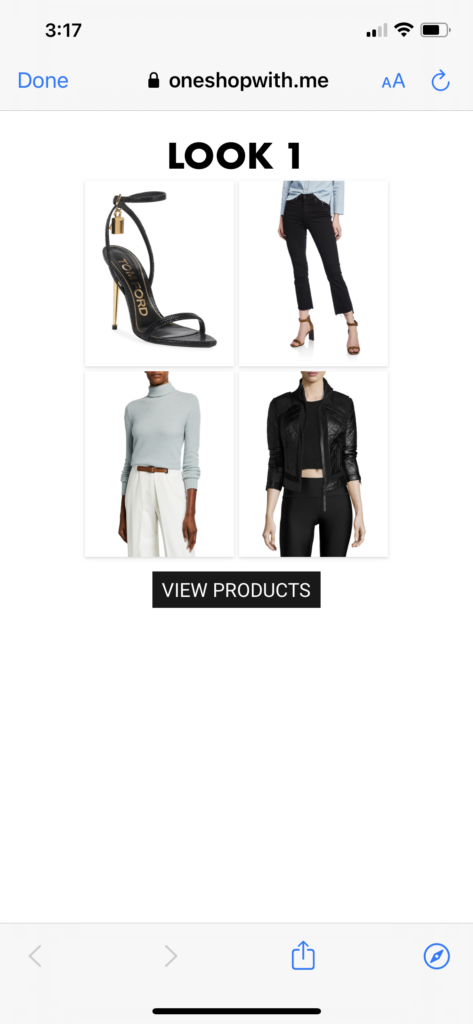
When look links are sent to a client, they have a slightly different format in that the client will land on a “Look” page where they can then click in and see the products of that look. Then they can click into these products to see the product details.
Collections #
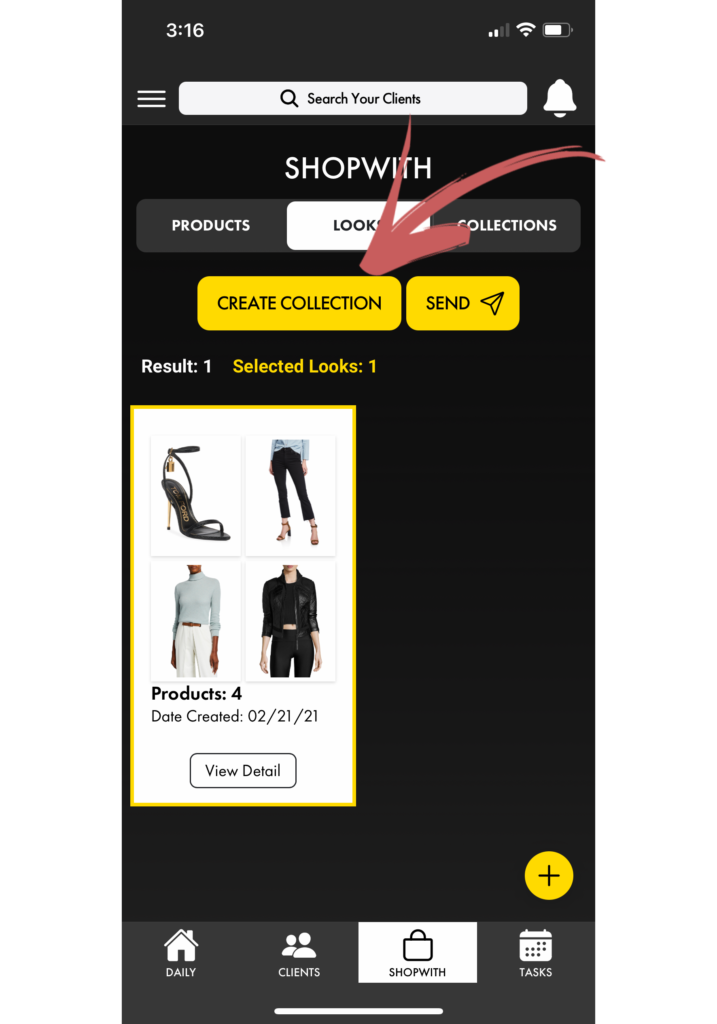
As mentioned earlier, collections are a combination of one or multiple looks. If you send a look or multiple looks from the look page, it is laid out the same as a collection, but it is not saved.
If you want to create a collection that can be used over and over again, you simply hit the “Create Collection” button on the looks page.
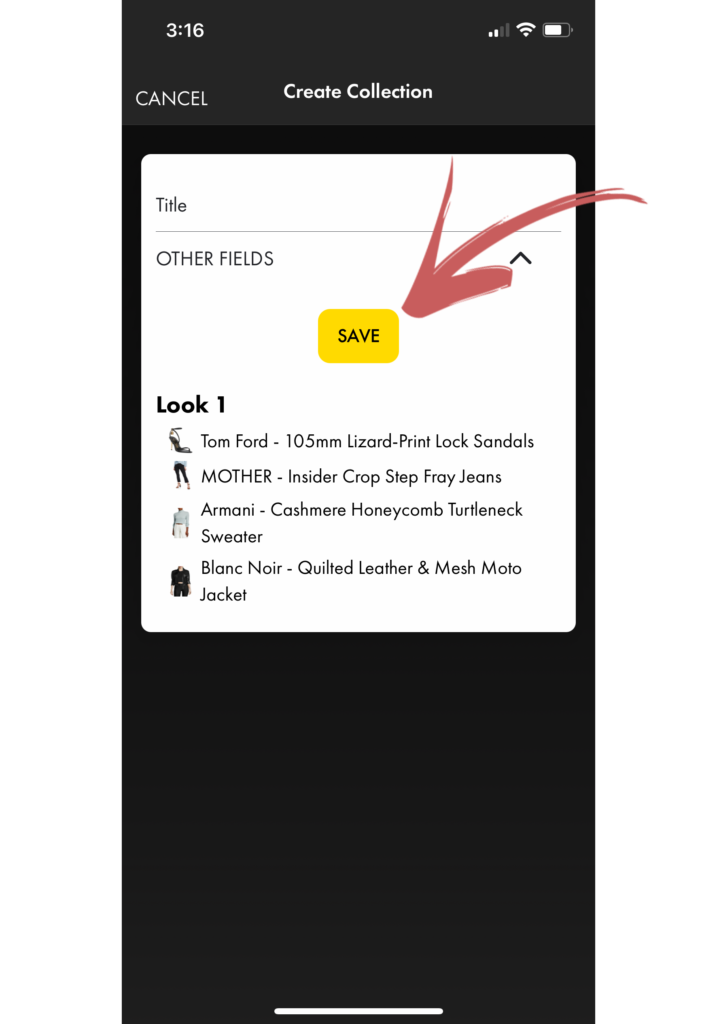
Once a collection is created, you can send one or multiple of these collections by hitting the “Send” button just as you have done on the products and looks pages.