Table of Contents
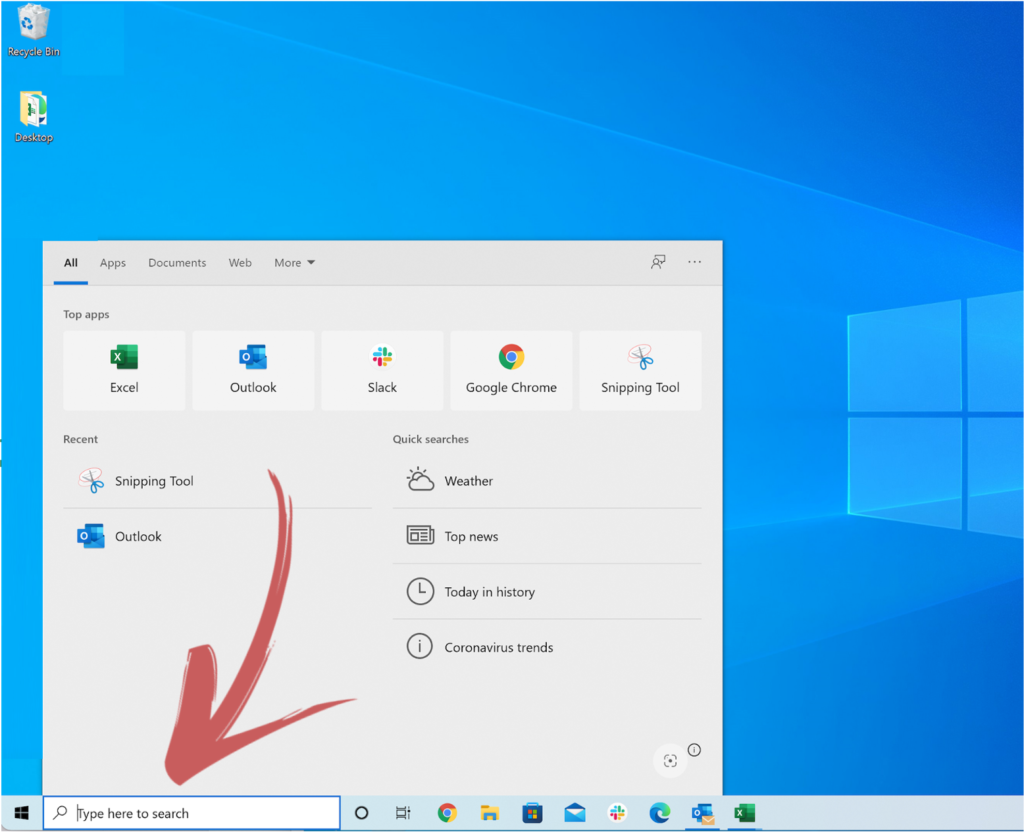
Step 1: Search Function #
Go to the computer search icon in the lower left.
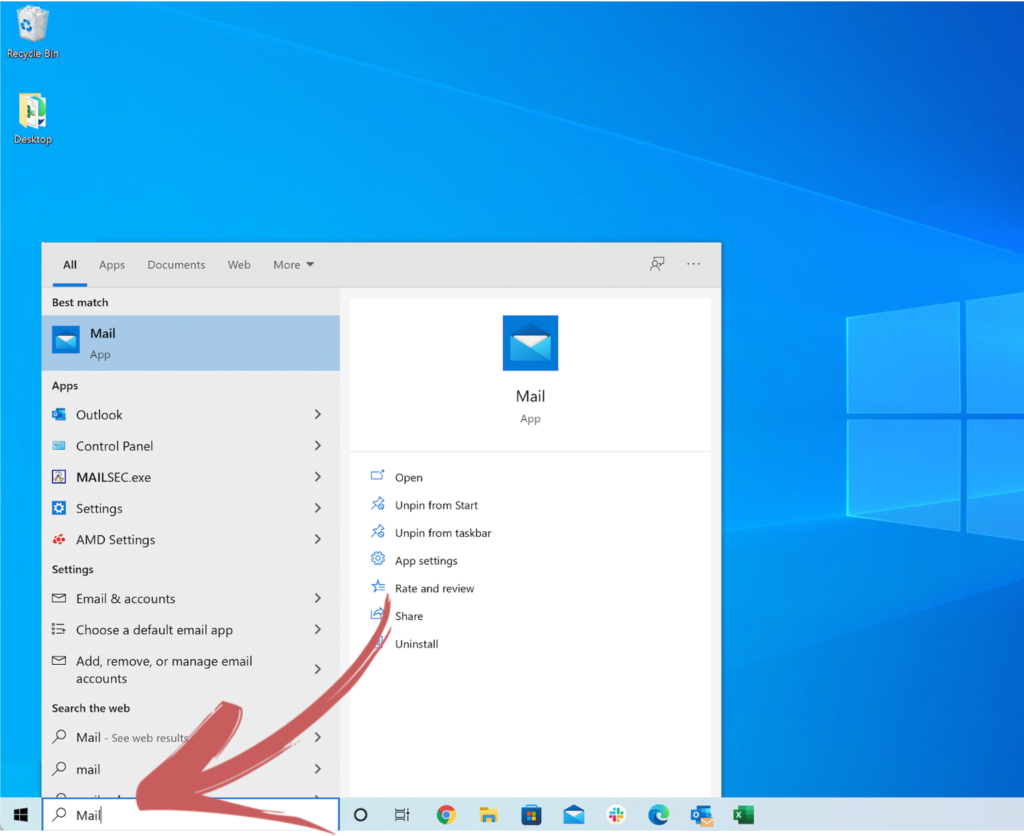
Step 2: Search For Mail Apps #
Enter “Mail” in the search bar.
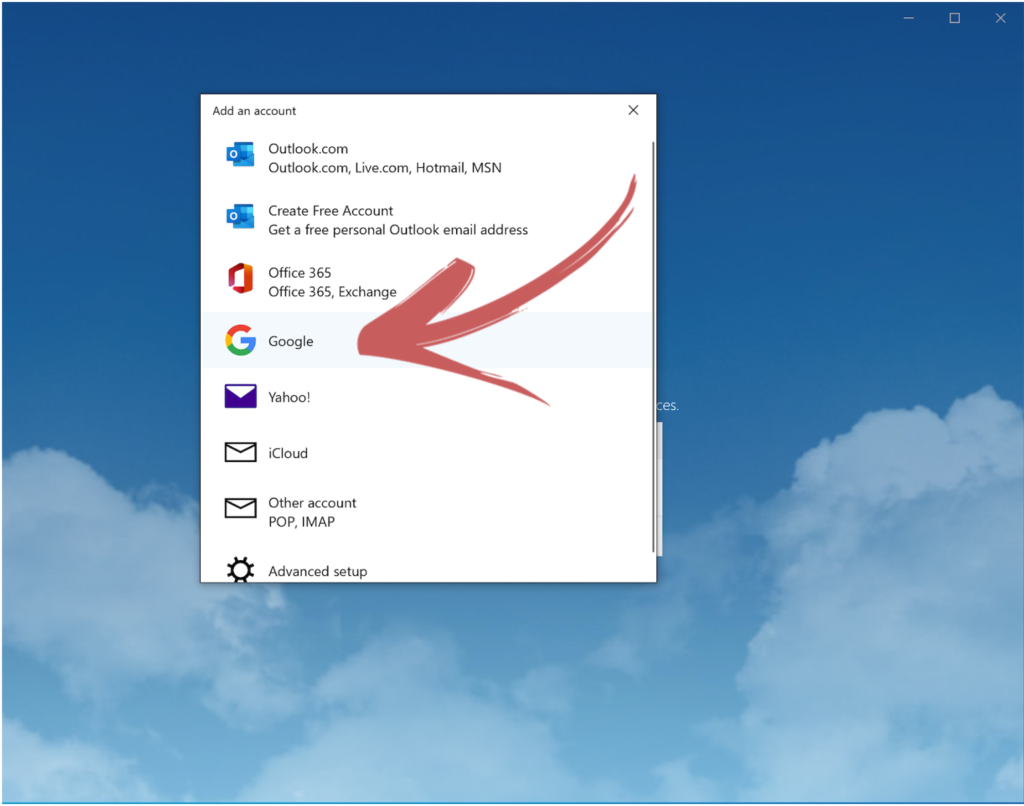
Step 3: Select Gmail App #
Select the Gmail app icon.
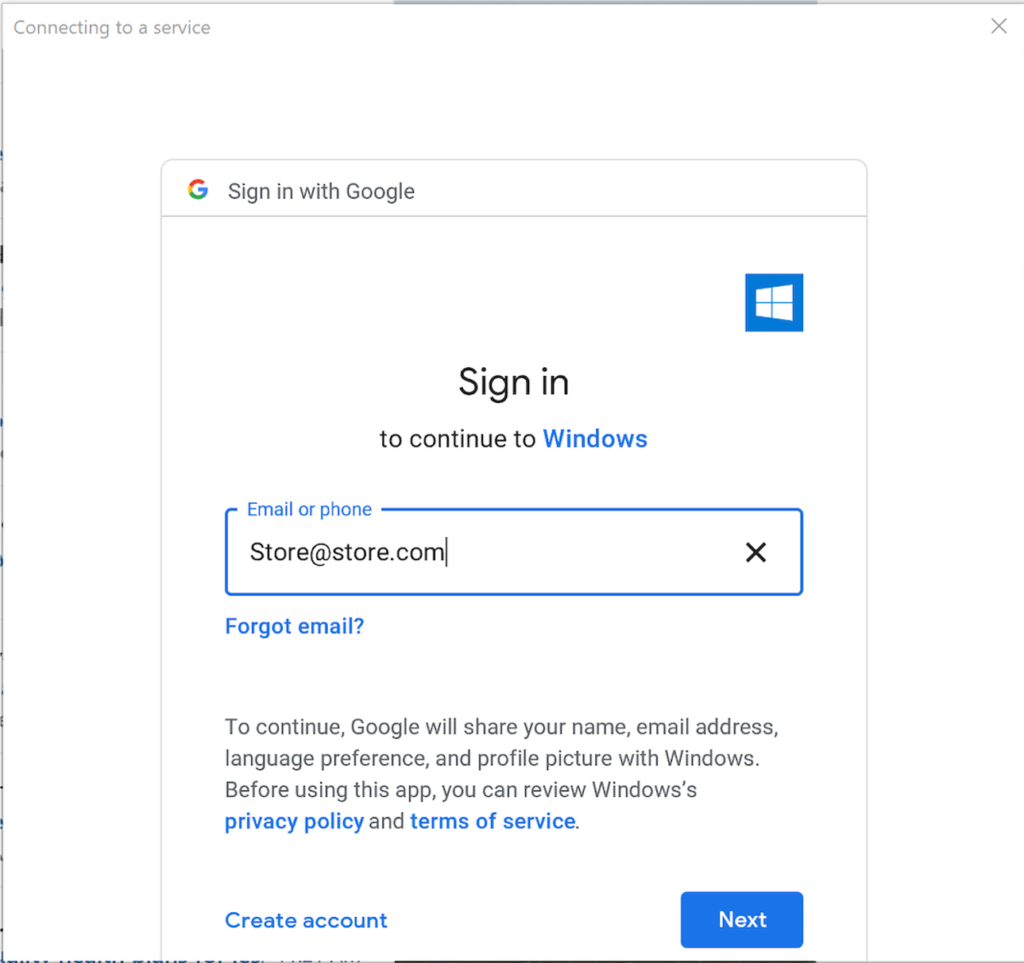
Step 4: Create Email #
Enter the store general email address to be used for the OneShop app.
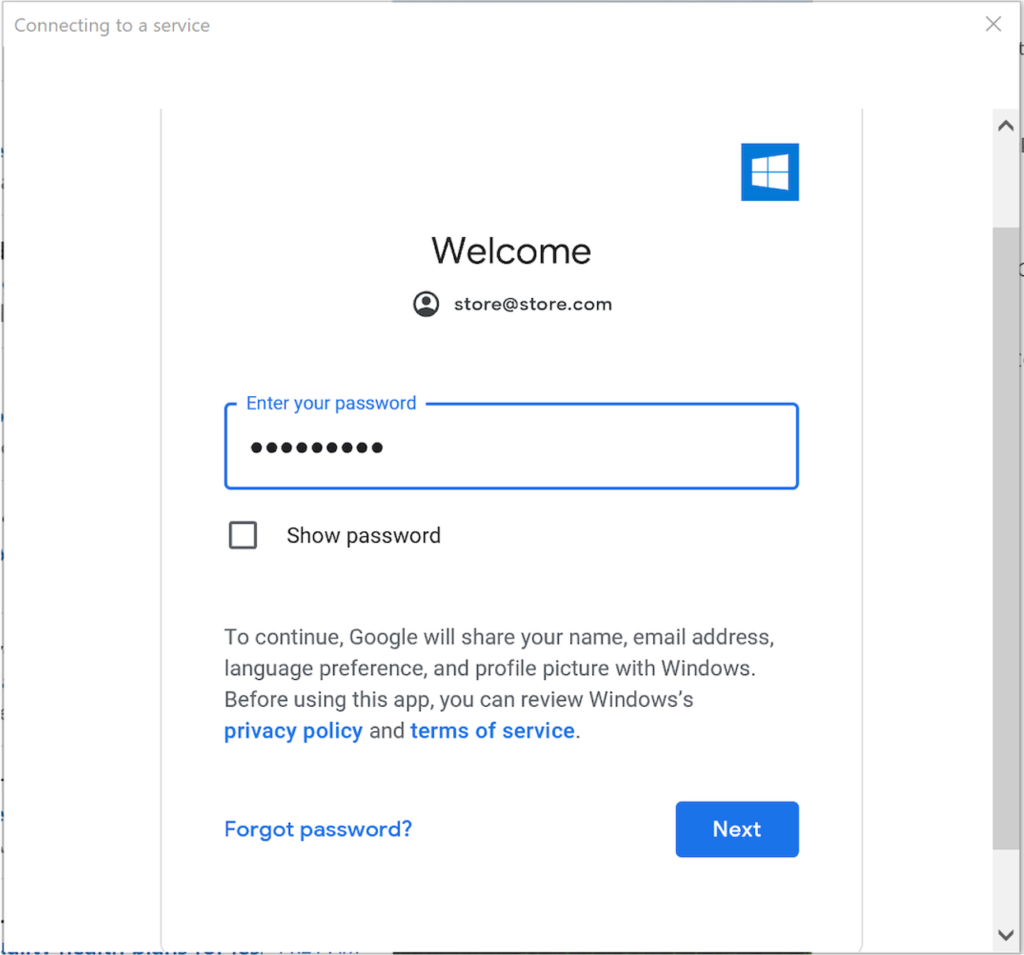
Step 5: Enter Password #
Enter the store email password.
Step 6: Settings #
Click the settings icon in the lower left.
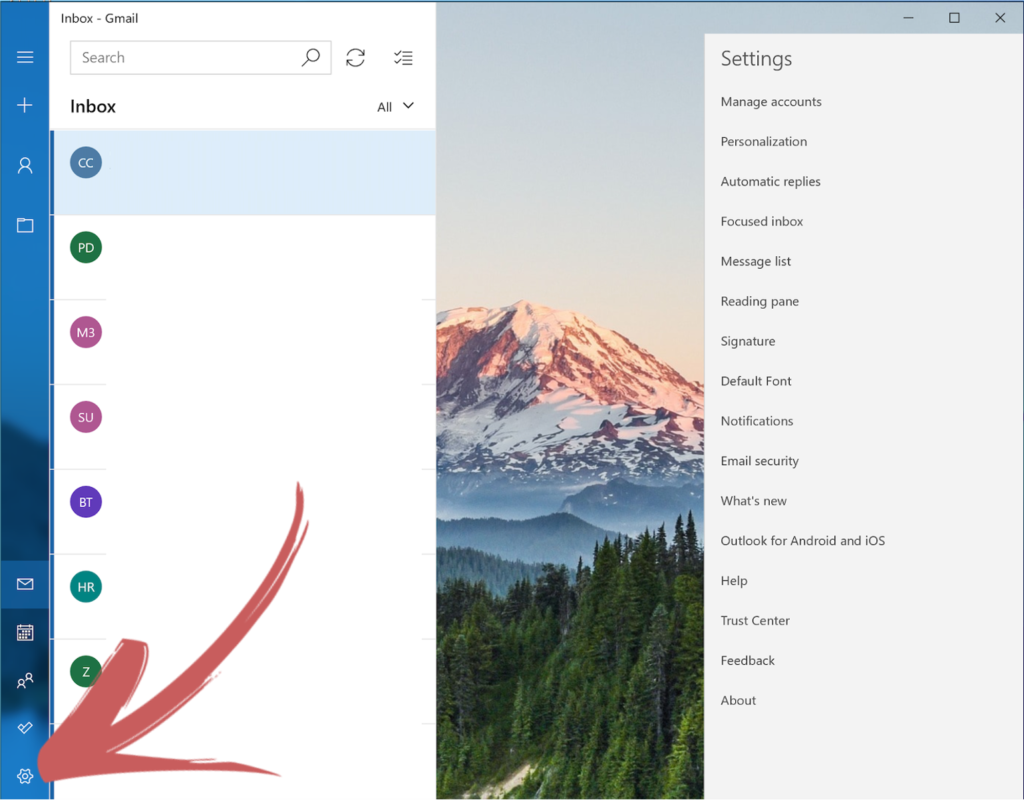
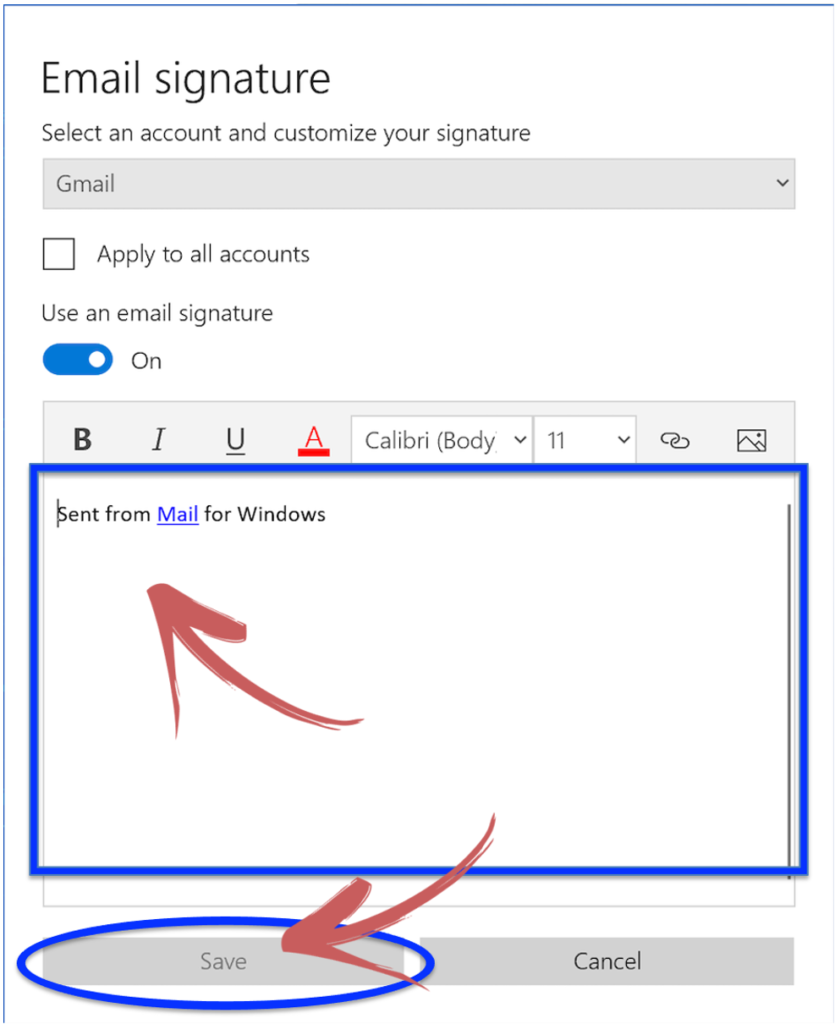
Step 7: Complete Email Signature Tag #
Add the store email signature tag to appear at the end of all sent store emails.