Overview #
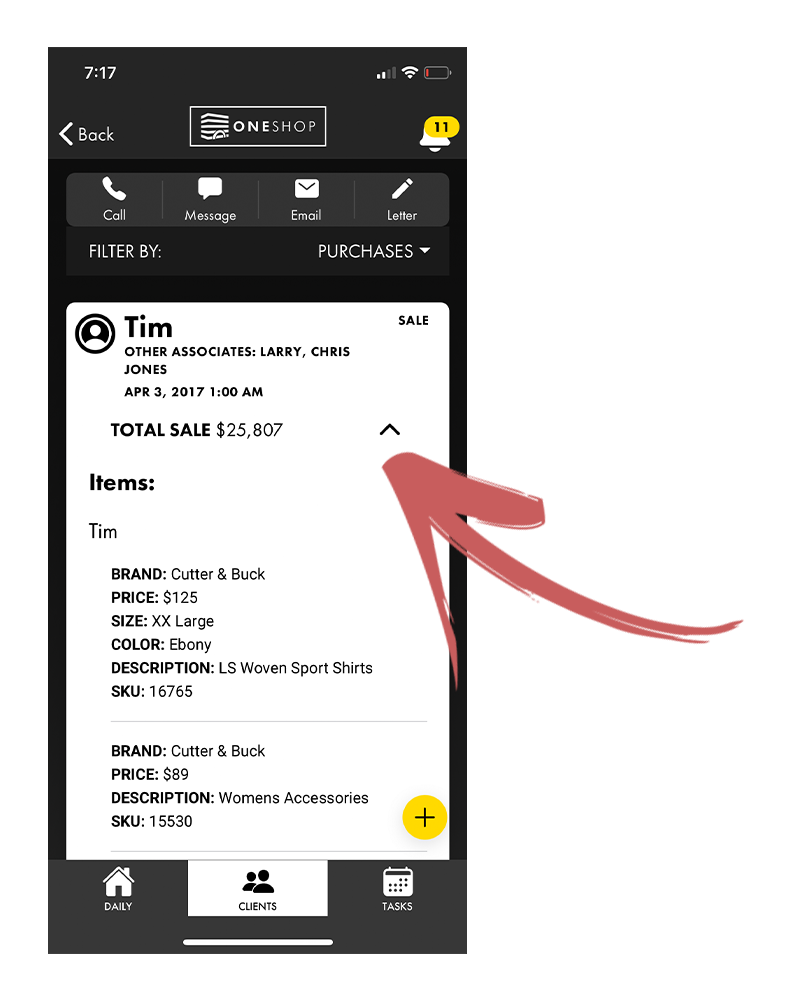
Each client has a unique OneShop profile that will show you all their purchase history as well as any other activity that occurs on their profile such as outbound messages sent, notes, and follow ups.
As time progresses we have plans to give you more and more amazing data on your clients here that you never had access to before in one place – right now it is a secret, but if you twist our arm maybe we will give you a hint 😉
A Tale of Two Profiles #
Depending on what POS you are on, you will see one of two versions of the client profile. If your POS has product images, then you will be able to see a “Closet view” where you will be able to see photos of all the products your clients have bought in-store or online.
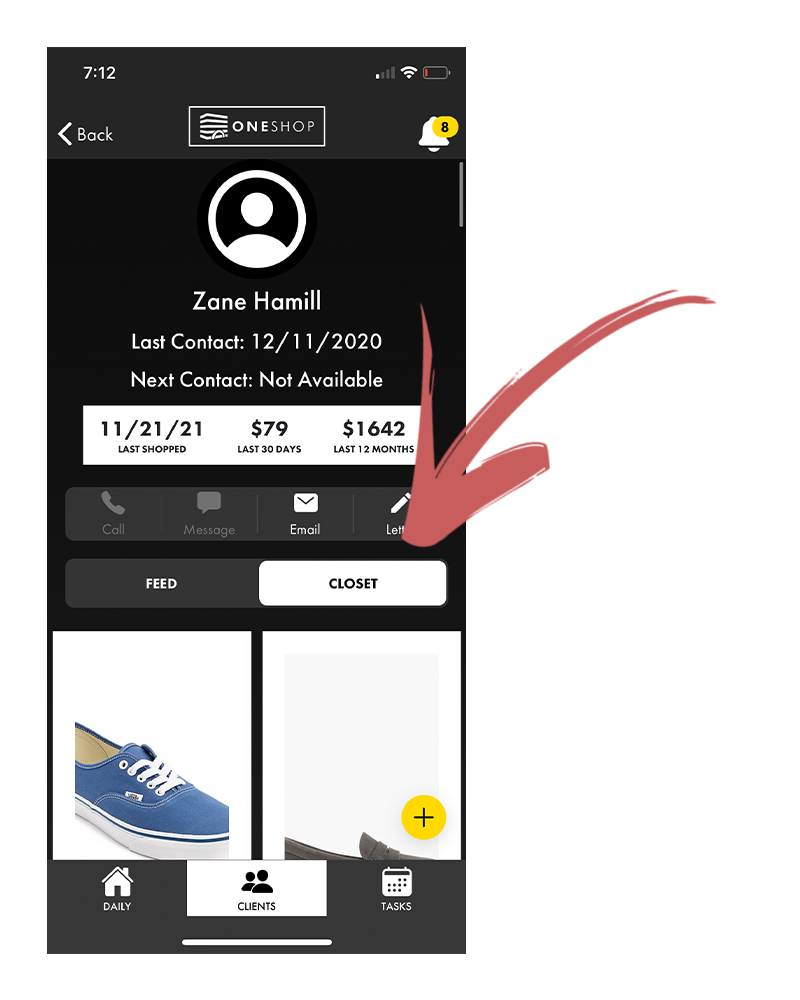
For the sake of this article we will focus on the things that apply to both versions of the profile.
The Header #
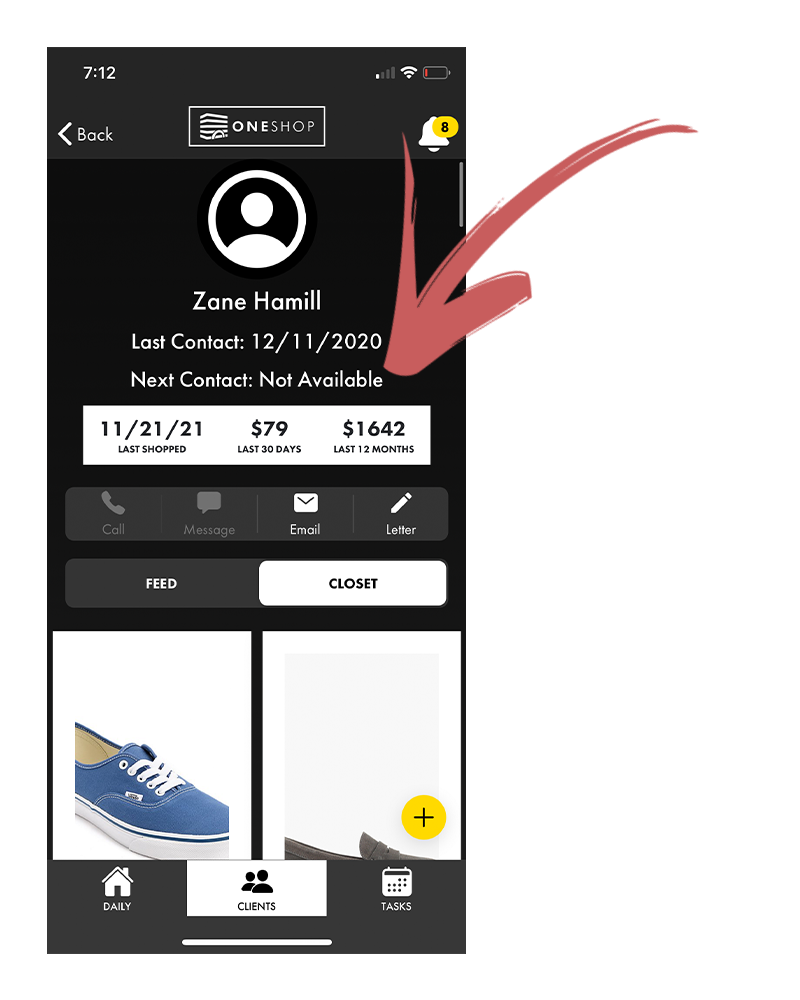
In the header of each client profile you will see the statistics such as the last time the customer shopped in your store and how much they have spent over the last 30 days and 12 months.
Communicating with the Client #
There are 4 ways that you can communicate with any client from their profile – Text, email, phone call, or automated handwritten note.
Text Message #
The most common form of communication in OneShop is text message so as the months progress there will be greater focus here. In order to text you hit the text icon.
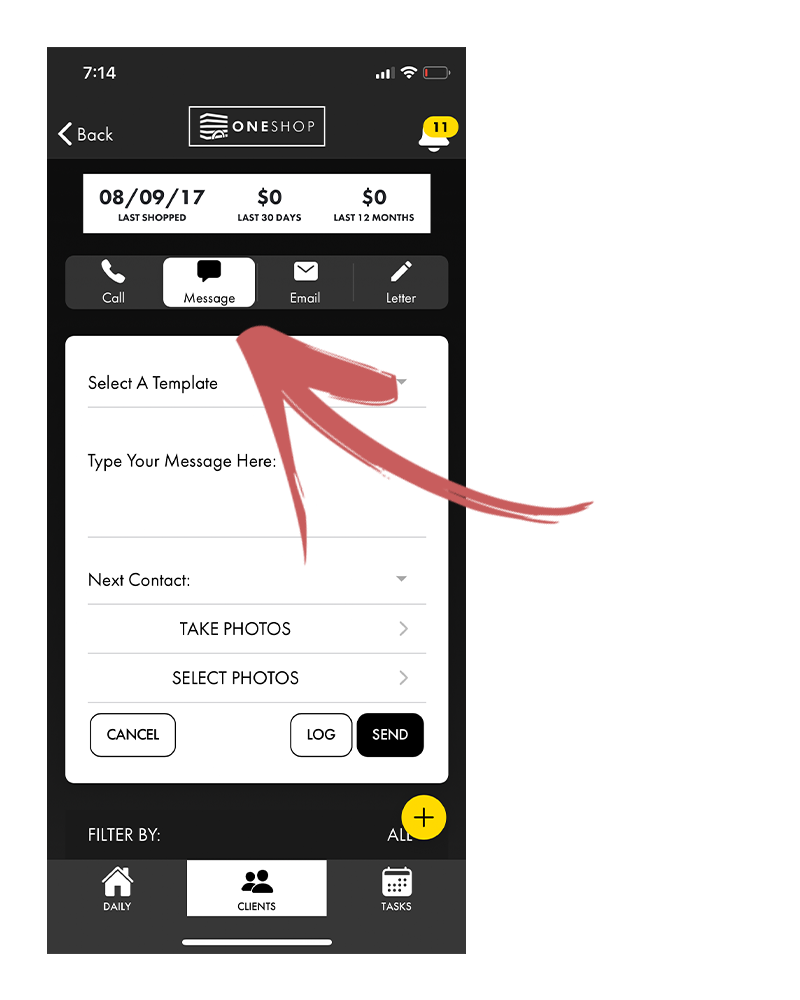
Here you have a few options:
You can simply type the message that you want into the message body, which is labeled as “Type Your Message Here”.
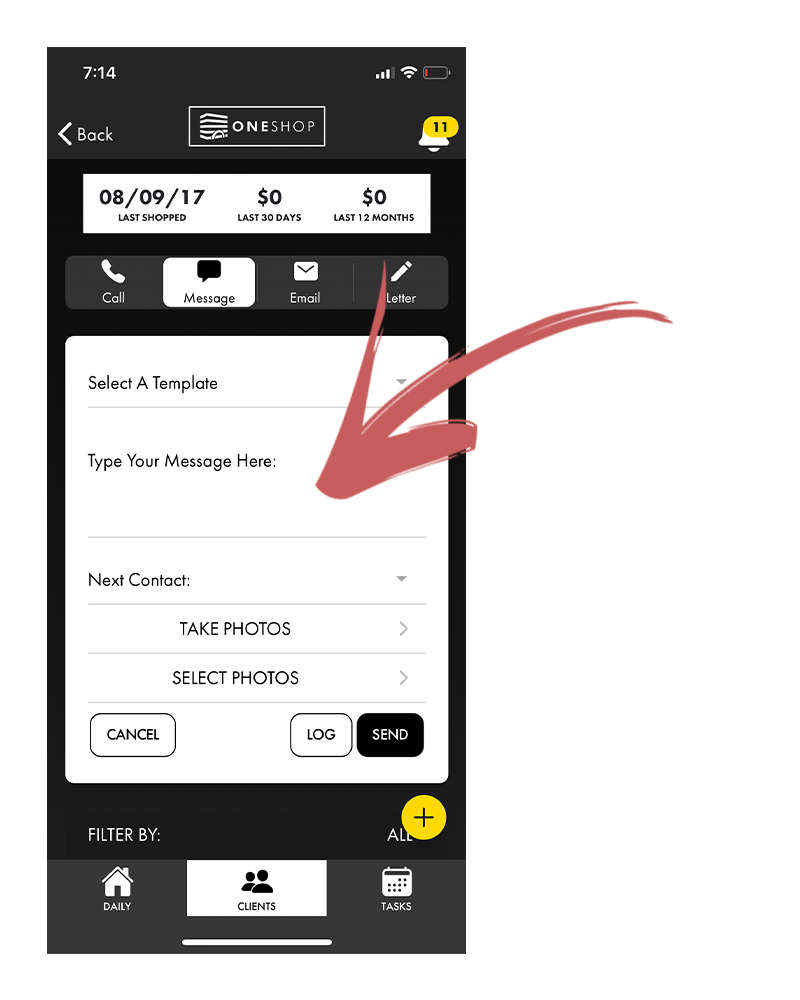
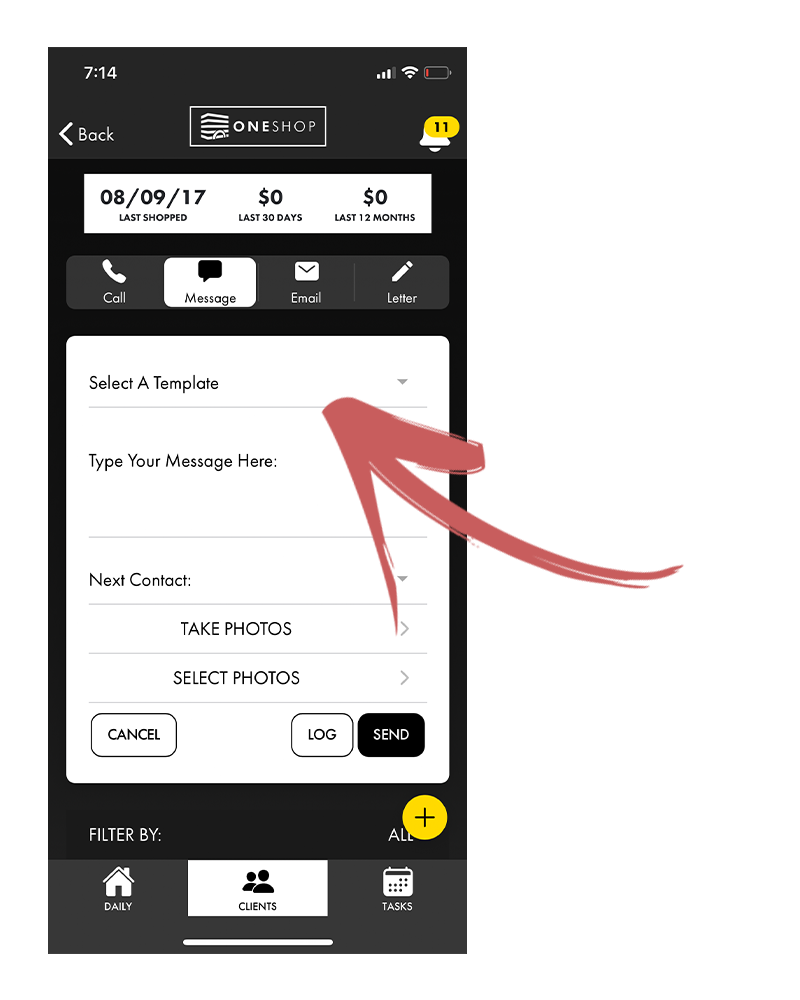
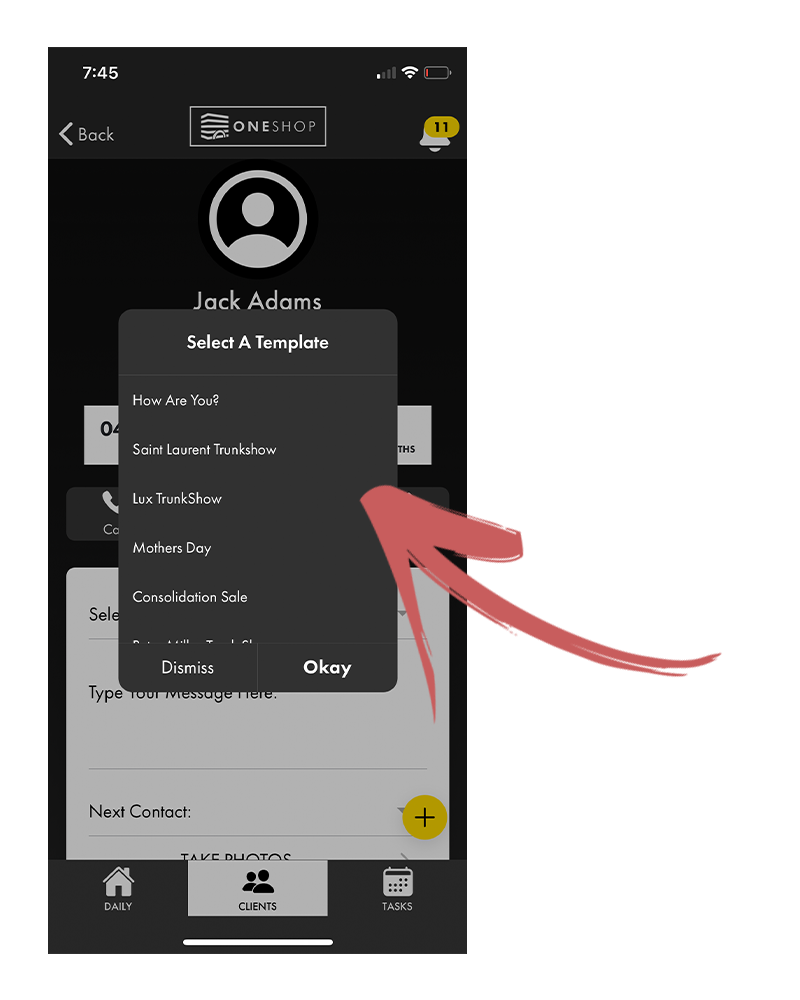
If you or your manager has set any templates to use for recurring messages such as new customer thank you messages, then you can select them from the templates bar.
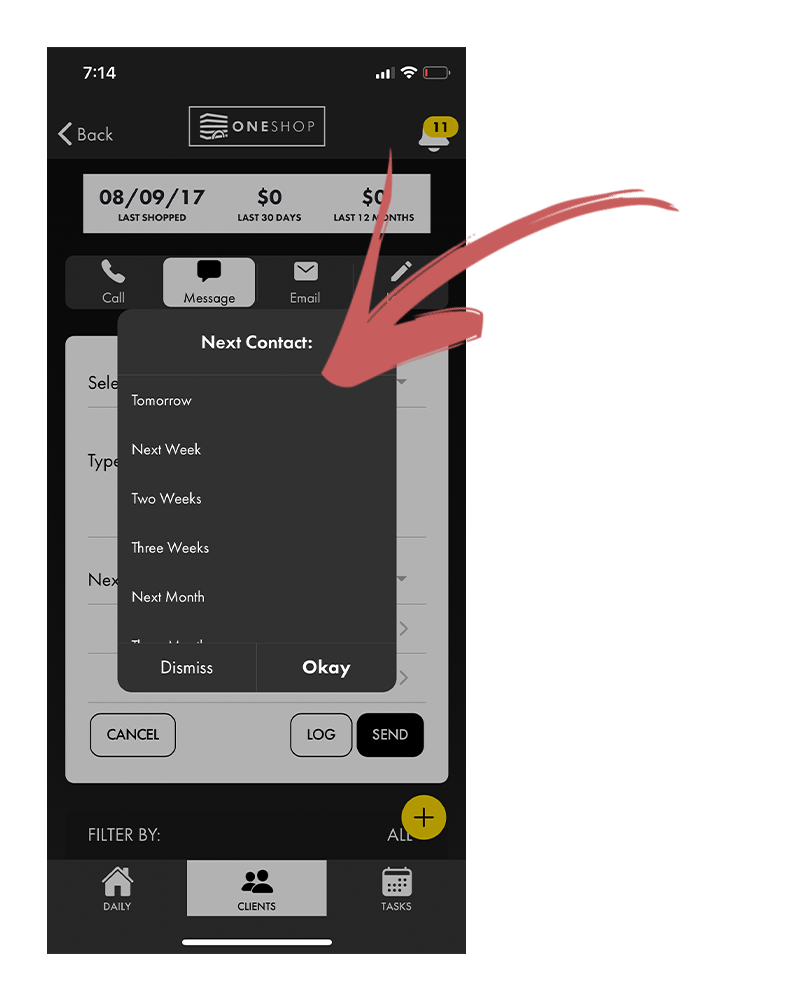
If you want to make sure you follow up with the client on a certain date after this message, you can set a next contact to be reminded on that date by setting a date in the Next Contact field.
Of course, your clients love seeing photos so you can either take one or multiple photos or select them from your camera roll.
**PRO TIP – the more personalized the better when sending a photo
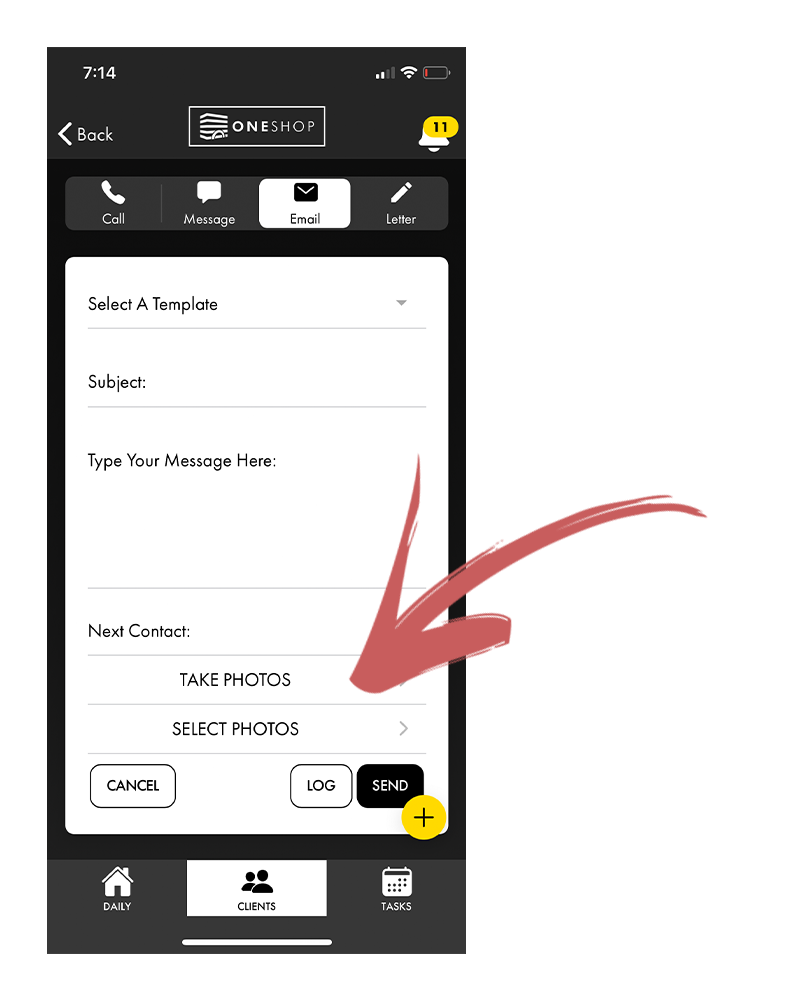
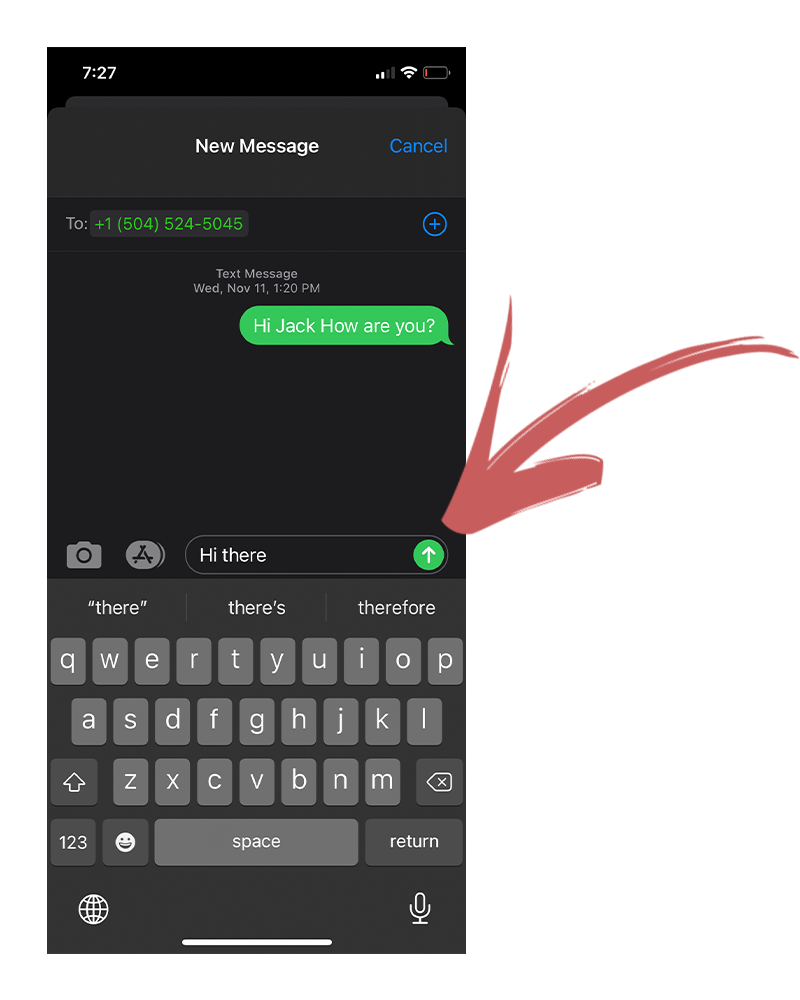
Once you are done, simply hit send and the text message will fill into your native texting app.
Here you will need to hit send again to actually send the message.
Email #
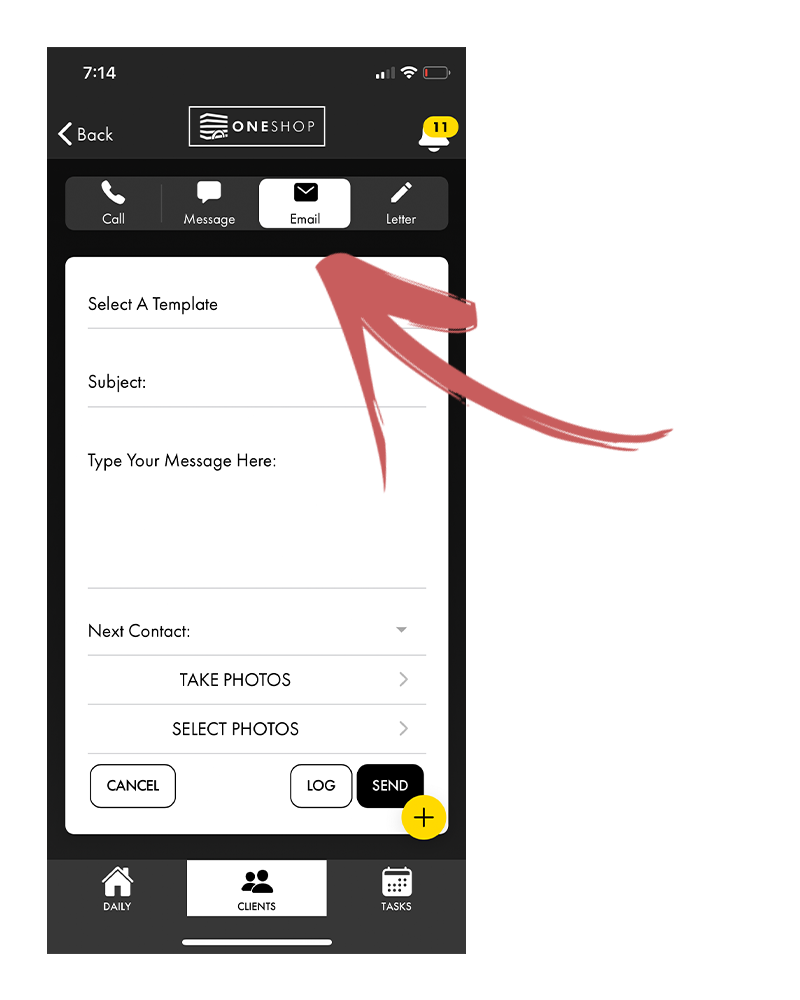
The fields in email mimic the fields in text exactly except for the addition of the Subject field. This will allow for the subject of the email to fill into your email when you send it through OneShop.
Phone Call #
Phone call is slightly different than text and email since you will know in real-time if you connect or not with the client.
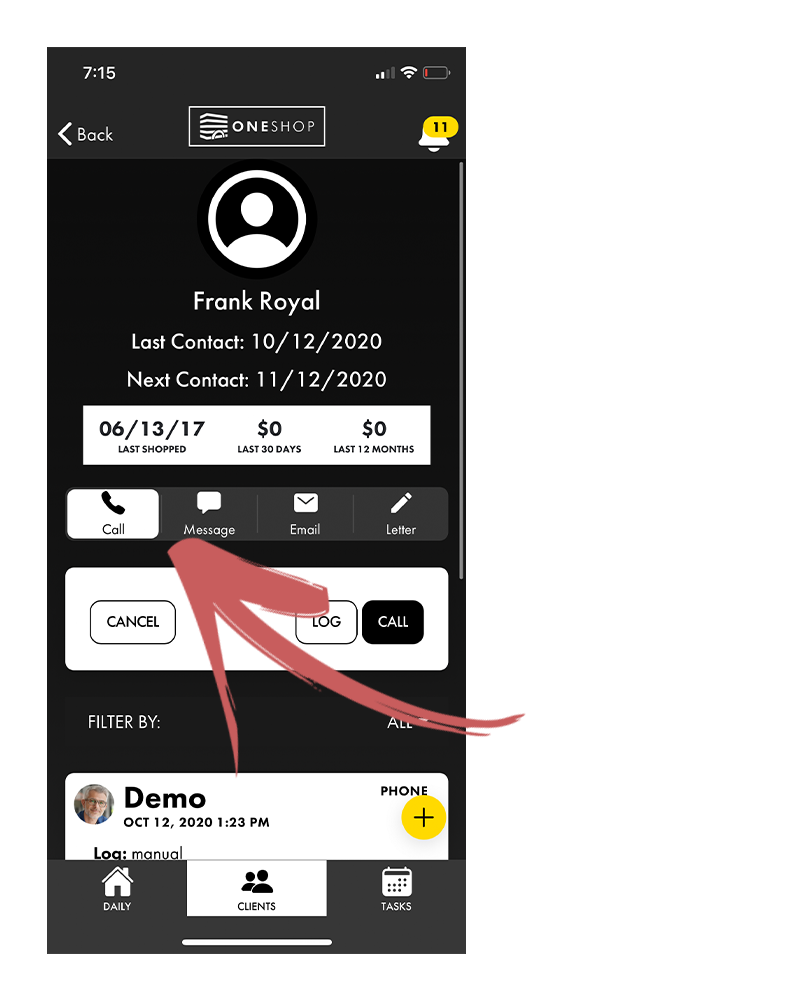
Because of this your first step is to hit the Call button to ring out to the client.
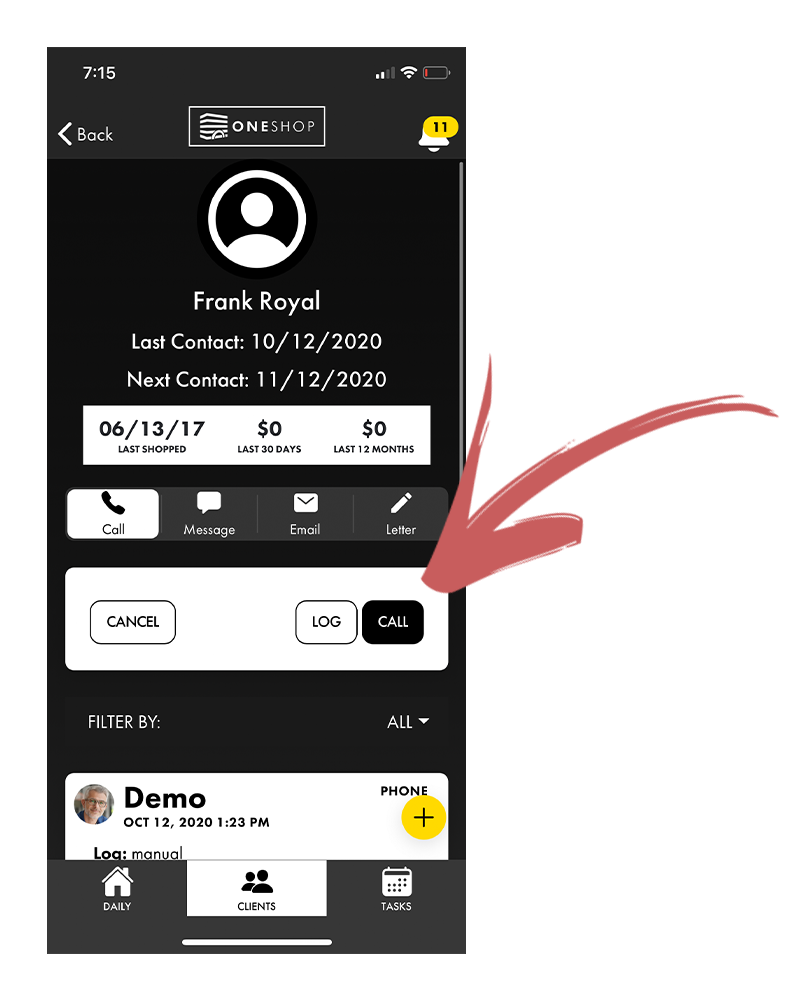
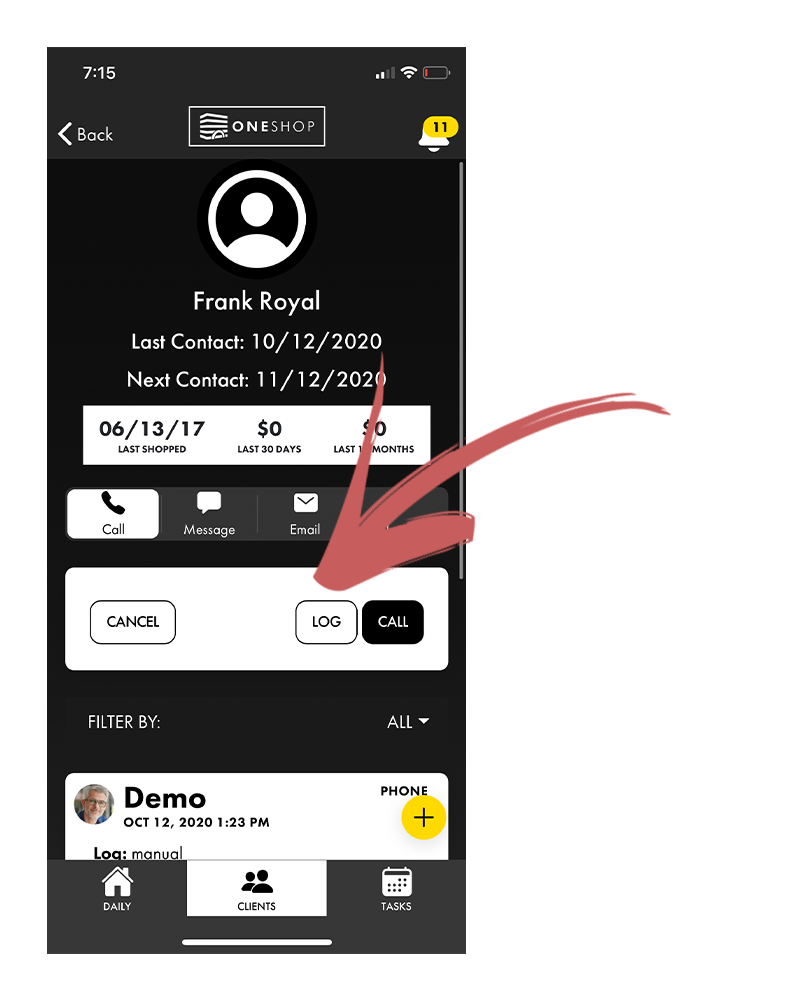
You also have the option to log a call you made on a landline at the store if you prefer. This log button also applies to text and email.
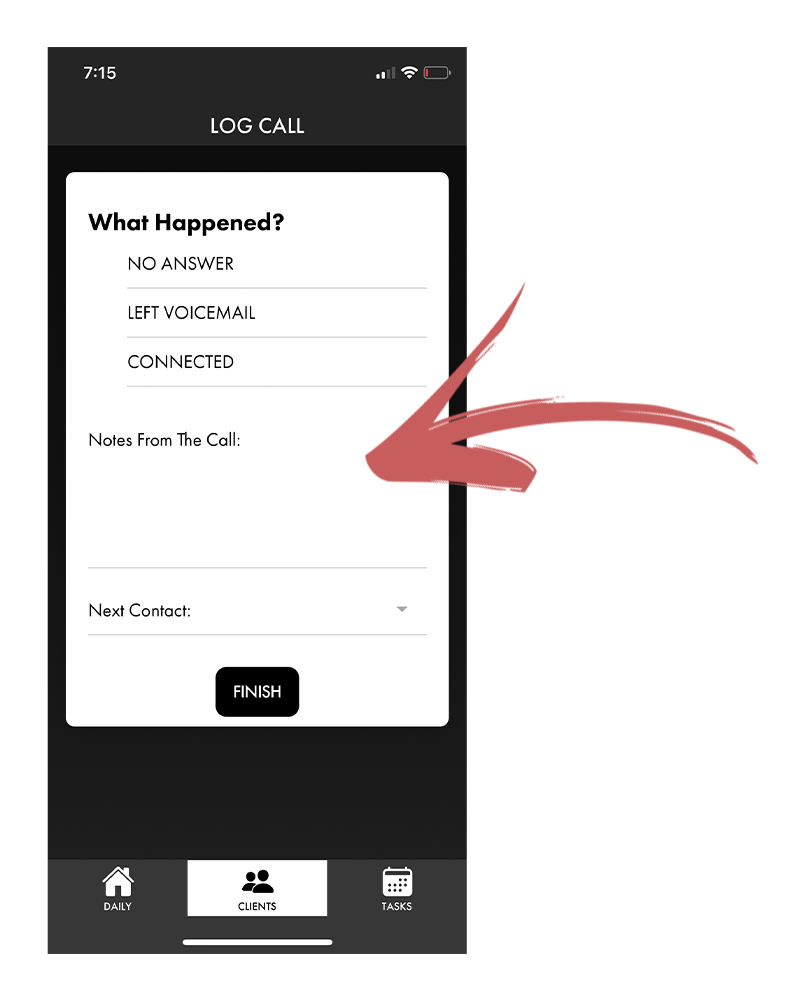
Once you dial out, you have the option of recording what happened on the call as well as any notes you want to take from the call. At this point you can also set a follow up contact to touch base again.
Writing a Handwritten Letter #
The last option is to write an automated handwritten letter right in OneShop. If the client has an address, then you will see it listed here.
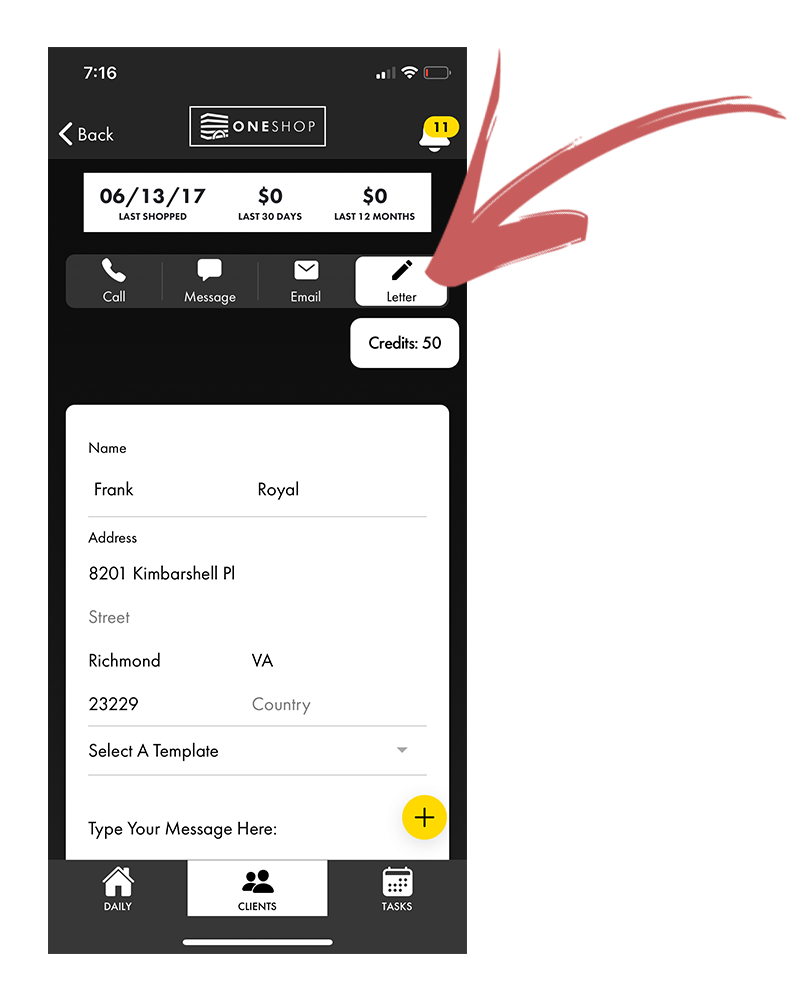
Like text and email you write the message you want to appear in your handwritten letter in the Type Your Message Here field or you can select a pre-made template.
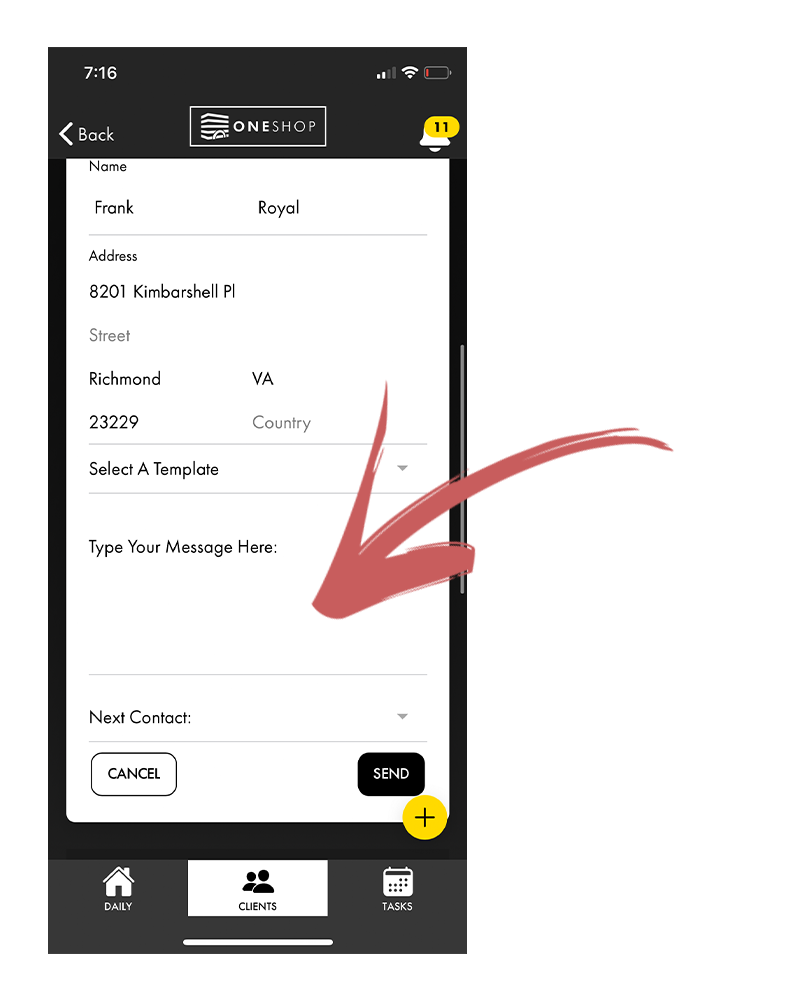
Once your message is written, you hit send, and your letter is written with a real pen by magical robots on your store’s branded letter and sent out to your client.
(Insert photo of card)
Navigating the Feed #
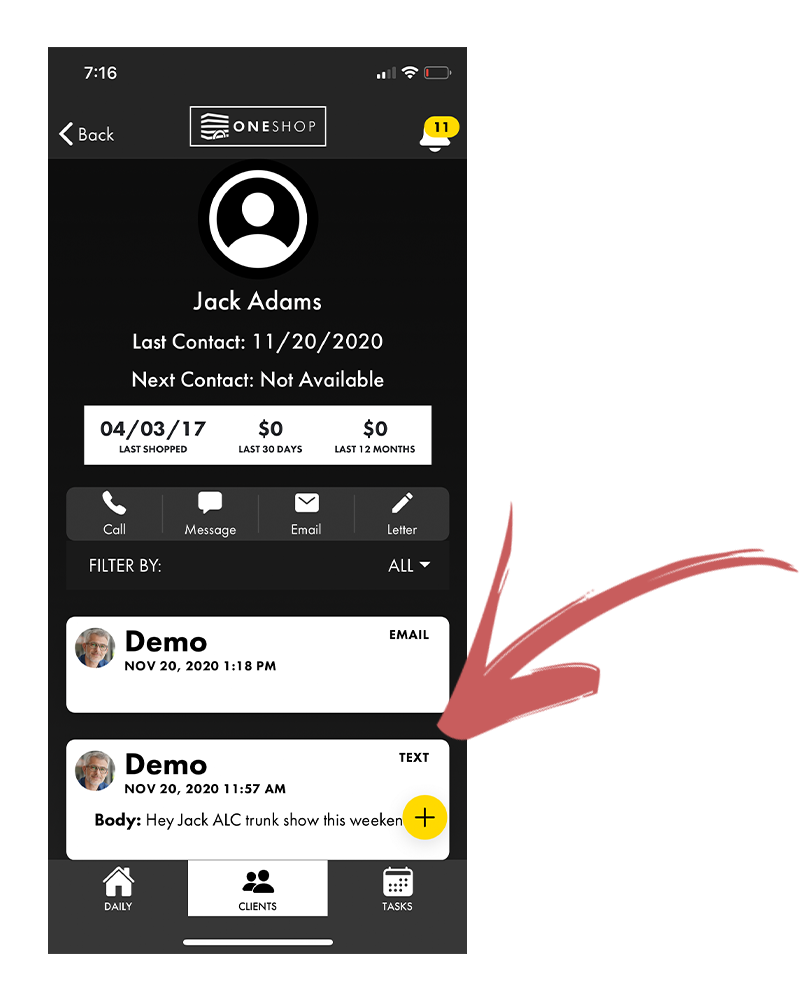
Beneath the communication bar is the feed. Here is where all activity that is tied to that client is shown. This includes purchase history, any communications sent, notes logged on the profile, and follow up tasks.
Filter #
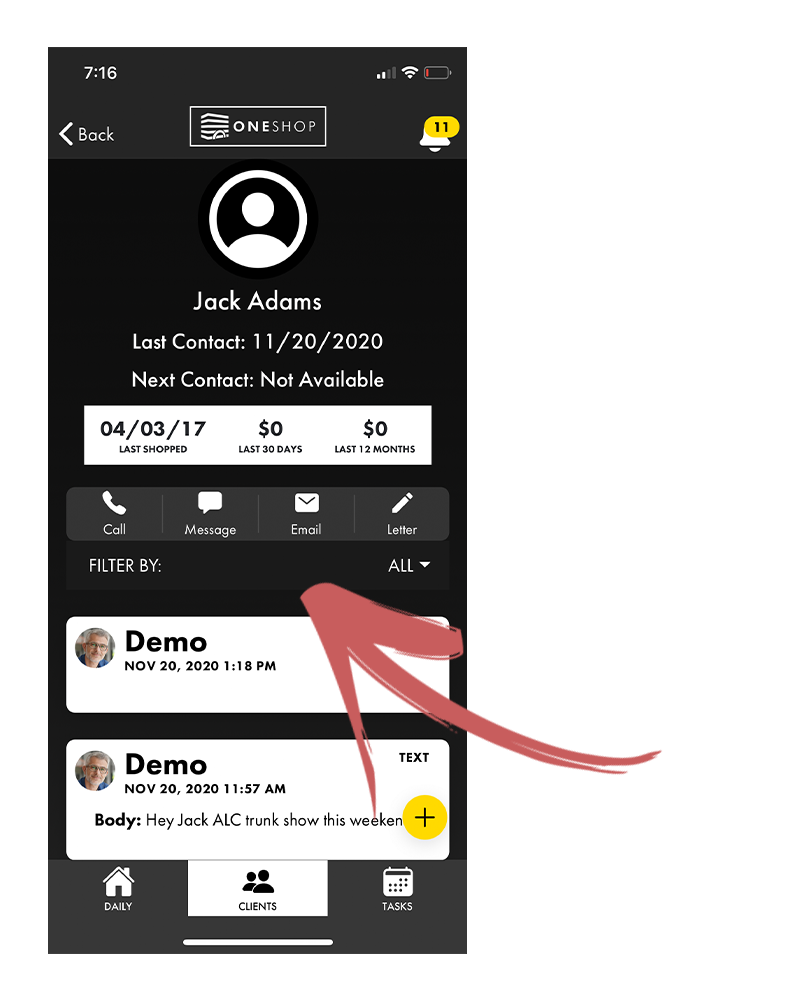
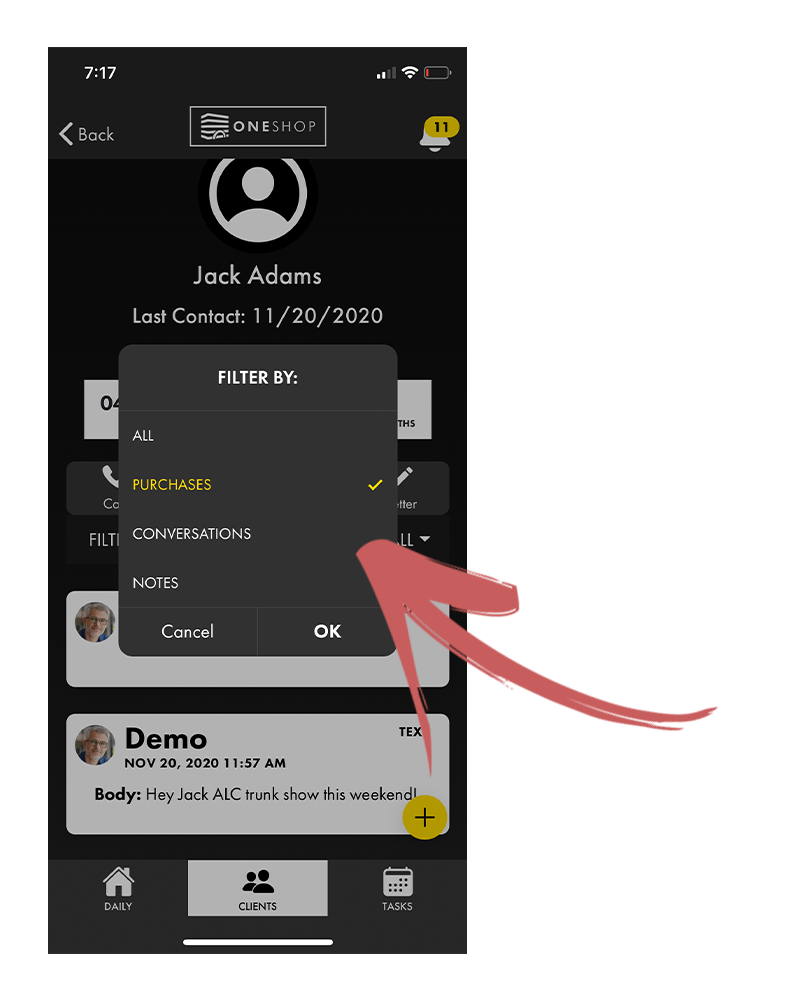
To filter the feed so that it only shows a certain category, simply hit the Filter By button and then select what you want to see from the available options.
Receipt Records #
In the feed you will see receipt records in ascending date order. This will show all purchases that clients has made regardless of sales associate or location.
To see all the details of the receipt hit the down arrow to expand each receipt.
